

Google's long awaited 4.3 Jelly Bean update is officially out, only it has not been pushed out to some of our Nexus 7 tablets yet. Although there aren't really any new UI changes, most of Jelly Bean 4.3's magic is under the hood, meaning user's can expect better performance and battery life with the latest version.
If you're like me and just can't wait for the OTA update to Android 4.3, follow along and we'll get you up to date—whether you're rooted or not.
Method 1: If You're Running Stock Android 4.2.2
If you're rooted with a custom recovery, then this method is not for you. Instead, go ahead and skip down to the second method. This particular method is only for those running stock 4.2.2 who aren't rooted and don't have a custom recovery. This route will apply to the majority of Nexus 7 tablets out in the wild.
The OTA update will get pushed out to you eventually, but this is how you get it now without waiting.
Download the 4.3 Update
First, go ahead and download the official 4.3 update from Google for your specific Nexus 7 version. I have the Wi-Fi only version, so I'll be using this one. We'll then need to update the checksums to install the update with our toolkit.

- MD5 checksum: 77e304584c4f192761234a9e1eb2fbe3
- SHA-1 checksum: d341d3560d6f9fa5cc82aacc3d647d4bff054c3e
Download & Install Wugs Nexus Toolkit
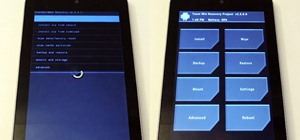
We'll be using a favorite among softModders, Wugs Nexus 7 Toolkit. Used previously in my definitive guide to restoring your Nexus 7 tablet, we'll be using the restore feature to manually update to 4.3.
Install the toolkit by clicking "Next" through the various prompts. Once the installation is complete, go ahead and run the toolkit.
Using the Toolkit to Update to 4.3 Jelly Bean
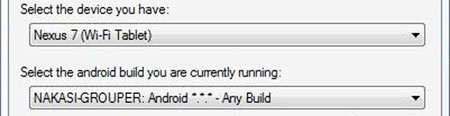
A window will pop up asking for your device model. Choose your device from the list along with its OS version (4.2.2) and click "Apply".
Head over to "Initial Setup" and click "Full Driver Installation..."

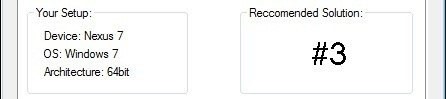
Follow the guide provided in the toolkit to install the required drivers for your Nexus 7. I recommend "Driver Solution #3," but any of the three options should work. The toolkit has a built-in guide with pictures that will aid you in installing the drivers.
Now with the drivers installed, make sure they're working by testing them over in the "Step 3" tab. The toolkit will verify if the drivers are properly installed and working.
Connect Your Nexus 7 to Your Computer
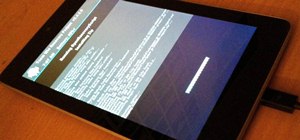
Boot into fastboot mode by powering off your Nexus 7, then press and hold both the power and volume down buttons. Plug in your Nexus 7 to your PC with the USB cable. You'll see the green Android mascot.
On your PC, click "Flash Stock + Unroot" in the toolkit. Choose "Other/Browse" and click the option for "I downloaded a factory image..."
It'll ask you for the checksum, so be sure to copy and paste the checksum it asks for I provided earlier.
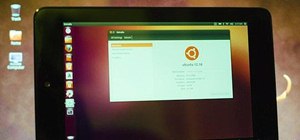
You're tablet will be updated to 4.3!
Method 2: For Rooted Users with a Custom Recovery or Custom ROM
If you're running a custom recovery, it's even easier to get the 4.3 update—and remain rooted.
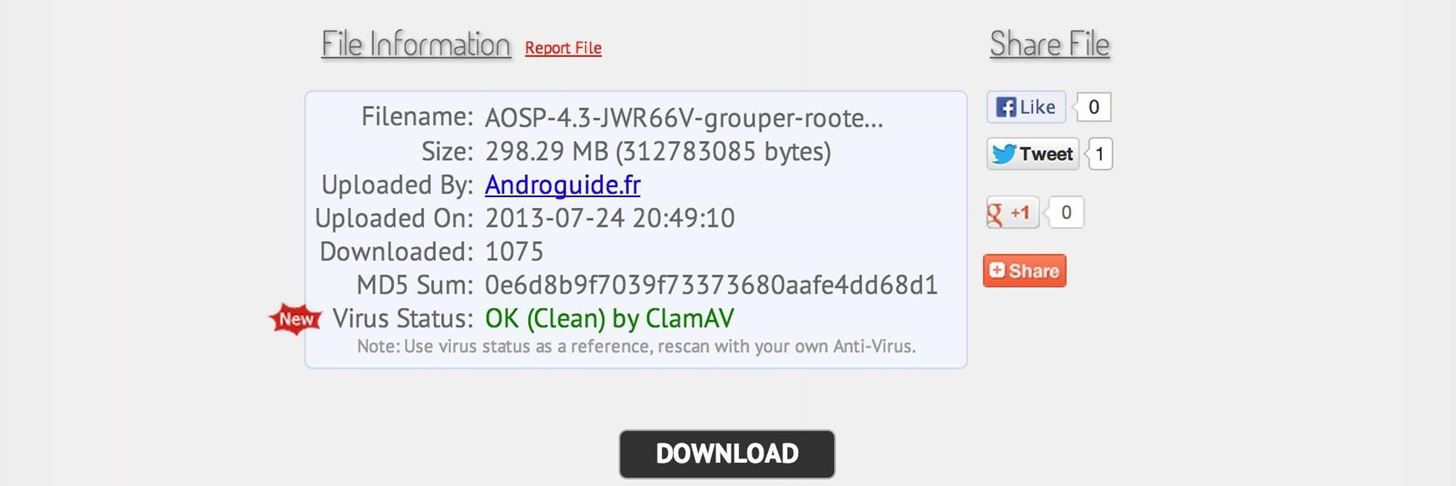
A pre-made flashable ZIP update with root by Androidguide.fr on XDA is available for download here. Just download the update ZIP and flash the ZIP like you normally would.
ATTENTION: You must wipe for the 4.3 update!
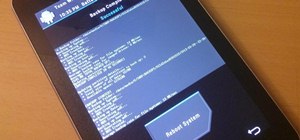
In Your Custom Recovery (TWRP or CWM)
- Do a Factory Reset.
- Wipe Dalvik Cache, Cache, and System.
- Tap Install.
- Choose the ZIP file.
- Flash it.
- Reboot.
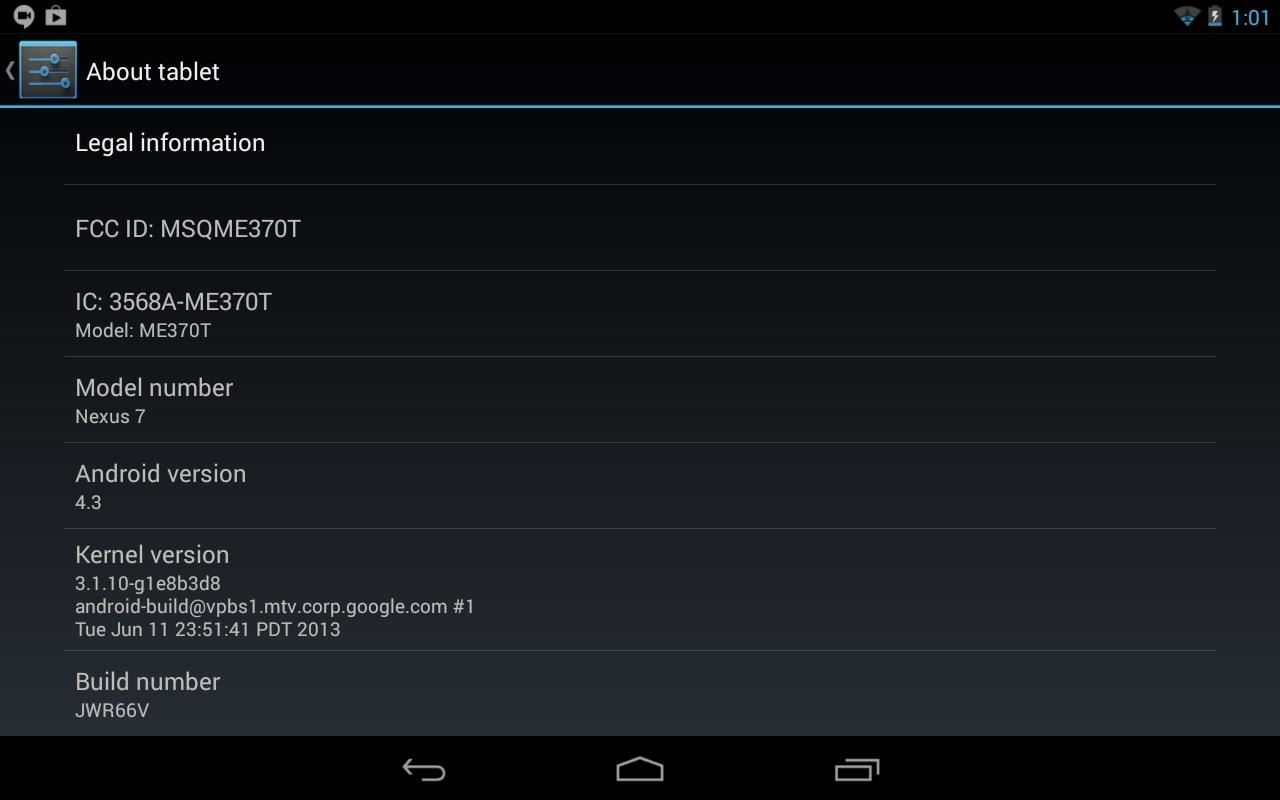
That's it! Enjoy Android 4.3 on your Nexus 7 tablet a few days earlier than you normally would (depending on your geographical location).
Just updated your iPhone? You'll find new emoji, enhanced security, podcast transcripts, Apple Cash virtual numbers, and other useful features. There are even new additions hidden within Safari. Find out what's new and changed on your iPhone with the iOS 17.4 update.


35 Comments
Hi! I recently rooted my Nexus 7 for the first time plus installed the motley kernel and trickster mod so i could overlock it. If i install JB 4.3 like in your video (2nd method), will I lose the motley kernel and if so, can i just put it back? I need my overclocked Nexus 7! :-D
You'll lose the overclock and kernel. I would not just reinstall the kernel because its not been written for 4.3 yet. Performance is a lot better on 4.3 with the Nexus 7, so who knows, you may not need the overclock.
Thanks, ok I´ll go ahead with the 4.3 install and maybe overclock it when the motley kernel officially supports 4.3.
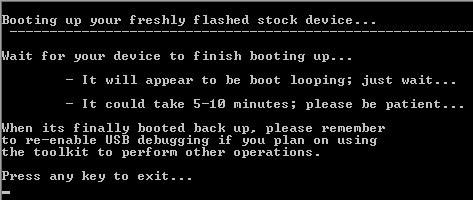
why does the boot looping doesnt happen to me, it just go straight to the "Booting up your freshly flashed stock device"
Not sure what you mean by boot looping (that's a bad thing if it happens), but as long as it boots into the welcome screen then all is good.
i've done all the instructions in the tool kit, i thought it's ok but when the command prompt appears, it stucks in "It would take 5-10 minutes; please wait patiently... Press any key to continue" then if i press any key, an error will appear, it says "Line 15641 (File "D:\WugFreshDevelopment\NexusRootToolkit.exe"):
Error: Array variable has incorrect number of subscripts or subscript dimension range exceeded.
your braver than i am please let me know if things worked out..i am too scared to install file ,
http://samtinkers.wordpress.com/2013/08/24/how-to-update-your-nexus-7-to-jb-4-3-keeping-root/
There's another method keeping your root.
Try re-installing the toolkit and run the toolkit in admin mode.
i dowmloaded the file but not being saavy am scared to install, should i wait for them to send update? and if i do will it install easier?,,thx for any responses!
You should definitely wait for the update if you're not very comfortable with tech. You'll get the update really soon, so it won't be long.
My device is Rooted Nexus 7 with TWRP installed, I received 4.2 update from Google over the cloud, I proceeded with download and install. But when the system re-boot after successful download, it boots to TWRP instead of system boot. When I touch BOOT, it goes to system initial boot as usual (color cross flushing), but it never recovers (i.e. just hang there). I have to restore my system (from previous backup) using TWRP. So which button should I select in order to proceed with the upgrade when I repeat the process?
Use method 2. Rooted users should not install OTA updates. You'll have a boot loop if you do.
Since your method 2 (Zip file) only works for wifi version, I can't upgrade to Jelly Bean 4.3 (Mine is 3G version). I plan to restore factory stock and un-root it, and install OTA updates. Your guide "The Definitive Guide on How to Restore Your Nexus 7 Tablet" explains utilizing Toolkit to restore and un-root it, my question is : 1. Would the factory restore also lock the table back to original state? 2. Would factory restore wipe out the OTA updates I have downloaded? 3. If not, can I now install it with OTA updates? 4. If it deleted the OTA updates, how do I find and download the OTA update? My current system has the OTA update ready for install (but of course it boot loop when I tried to install it). Thanks again.
Its really as easy as using the toolkit. Its been updated to support 4.3 now.
you can try this.
http://samtinkers.wordpress.com/2013/08/24/how-to-update-your-nexus-7-to-jb-4-3-keeping-root/
Hi, My Nexus 7 3g is rooted and I was going to update it to 4.3 Jelly Bean by your instructions BUT when i swipe to flash, an error show up and it says Failed... What is my Nexus 7's problem?
I downloaded the file twice and try it again but still have problem. please help
This guide was written for the wi-fi only Nexus 7.
Provide us a link to download the nexus 7 3G version rom ~ thx
I went from 4.2.2 to 4.3 and my N7 is SLOWER. Amdrobench proves it.
Android 4.2.2 4.3
Seq Rd 24.7 24.6 mb/s
Seq Wr 10.92 10.02
Rnd Rd 1796 1855
Rnd Wr 116 32.48
Browser 164 ms 1150
Market 273 ms 1263
Especially poor are the the random write and the browser & market numbers.
I have let the tablet sit idle to (supposedly) fix the fstrim but no improvement yet.
Lots of talk about how 4.3 is supposed to improve performance but is it just talk?
Others have posted poorer performance also.
Any thoughts?
Excellent guide EXCEPT for two things, both relating to method 1:
1) This DOES NOT WORK unless your device is Unlocked - you'll get an error during the image flashing process and an unusable Nexus 7. So, before you click Flash Stock + Unroot, you should click Unlock and follow the process. If, like me, you had an unusable Nexus 7, unlock it and then select "Soft-bricked/Bootloop" under the "Flash Stock + Unroot" button
2) Under "Connect Nexus 7 to your computer" you should NOT boot into the bootloader - let the Nexus 7 load normally into its desktop with USB Debugging enabled - Nexus Root Toolkit will then reboot into Bootloader.
The toolkit has already been updated to fully support 4.3 and it should be one of the available options in the initial dropdown for choosing your device and Android version. Not sure what went wrong on your end, but if anything did went wrong, the toolkit would of automatically restored the tablet to any Android version you needed.
I specifically picked "soft-bricked/bootloop" in the video if you look closely.
I was following the text instructions - there's no mention of either selecting "unlock" or "soft-bricked". I was left with a screen containing the Start graphic and the Google graphic and no way to boot.
I'm only pointing this out in case others have the same problem - I truly appreciate the effort you've put into this tutorial.
Please make others one for nexus 7 3G version or a link for the rom please ~
Assuming you're rooted with a custom recovery, try this link. I don't have the 3G model so I can't vouch if it works.
for the rooted devices, If the recovery says the stock recovery might be flashed over and asks you to disable choose No
Didn't work for me.
There seemed to be so many sub-options I am asked in-between the "6 bullet point steps" you simply state above. And the steps you list are completely different then the steps in the video and on XDA.
I just wish that when someone posts "easy" directions they would actually list those directions rather than simply posting a link to someone elses directions/video/site and attempt to steal the credit.
I am now stuck with a factory reset 4.2.2 completeley wiped device than won't update.
Nice job!
Hi guys
I folowed method 2 and it worked, but there is a new update OTA for the 4.3 with 1.7mb . I have TWRP , how can i install this small update?
Sorry my english,
Many thanks
Hi guys
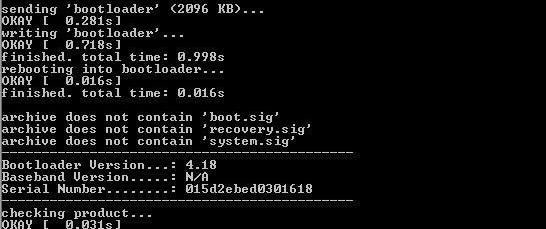
I followed the instruction of the first video with my nexus 7 wifi tablet but have a serious problem. I'm stuck with my deleted device in fastboot mode. I start to flash the factory image 4.3 but then I get in the command window messages like:
Archive does not contain:boot.sig
Archive does not contain:recovery.sig
Archive does not contain:system.sig
then I get the message bootloader check failed
device version bootloader is 3.39
update requires 4.23
after these it does not flash the factory image to the device so i'm stuck.
Please help me to resolve this problem!
Thanks!
You should have included wifi in post title or else atleast written somewhere in 2nd method. I think you can solve this problem now.
I have nexus 7 3g version rooted and really dont know that you are providing only for wifi and I have flashed the downloaded 4.3. Now Iam fucked up. The 3g option and mobile network option totally missing from my tablet. How should I roll back.. Please
Method 1 screwed up my Nexus 7 also. Now I'm stuck in fastboot mode. This post needs to be taken down. It doesn't work for all Nexus 7's. The Nexus Root Toolkit also needs to be fixed. It checks for compatibilities after it wipes out your device. I'm very unhappy.
Which factory image is the correct one for Nexus 7 32GB 3G (2012)?
There's a Nexus 7 Mobile image, and a Nexus 7 GSM/HSPA+ - which is the right one?
I need to downgrade from KitKat to 4.3 to make SMS work, so I can register for 3G on the Three Mobile network. Google ruined my Nexus the day I bought it, with the KitKat update.
Complete waste of time!!
Didn't work, and what's worse it put my tablet into non-stop bootlooping. Was only able to stop this by wiping all data and rebooting the system! Don't use this tutorial!!
Recently i gave my nexus 7 for repairing which was running 4.2.but they downgraded it to 4.1.now i can not asses my already downloaded apps and games .when i go to setting the name of device came as"full android on tilapia"i dont know what exactly they did.now i want kitkat for my nexus 7.please help how to do it and how to regain my intalled apps and games.thank you.
hey man this is ALL too FRUSTRATING, too many instructions to do this and that to downgrade or to hold back on updates, or this or that.., blah blah, its just all too aggravating...geez.. the instructions are just way too difficult for newbies or dummies...its not as easy as one thinks...all this bullshit is happening when i upgraded my nexus 7 to the horrors of the OTA lolipop...its draining my battery bigtime, and I have tried EVERYTHING possible to fix the drain, but it still drains...and the LAG oh man..the errors...hell....this is just a NIGHTMARE...GOD google. I will never buy another product of yours again...ever!! YOU owe me, and by the way, go f* yerself...
Share Your Thoughts