
The integration of technology into automobiles is becoming more and more widespread each year.
Tesla's Model S features a 17" display in the middle of the dash with navigation, music control, and even an Internet browser. Mercedes is working on incorporating Google Glass into their cars. Even Honda's 2014 Accord LX (their lowest trim level), boasts Pandora music streaming, Bluetooth connectivity, and a rearview camera and display.
Not everyone has access to these features, though. A large percentage of us are still driving the cars of yesteryear, equipped with good old-fashioned FM radio and power windows.
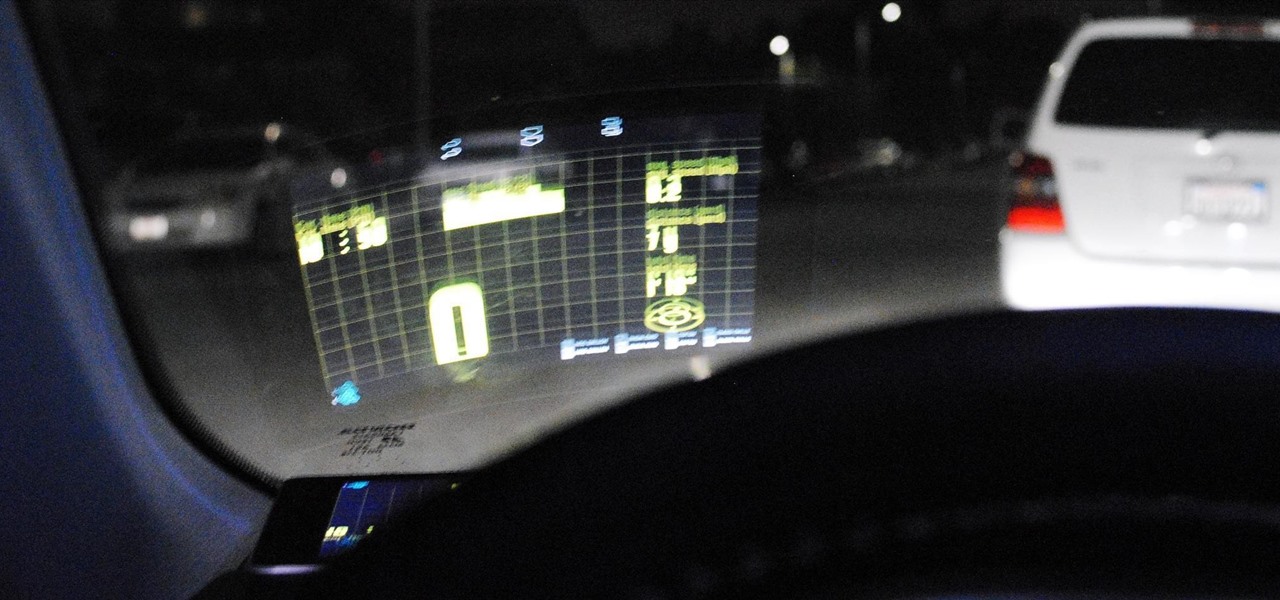
If that describes your vehicle, don't be ashamed; you can turn your Nexus 7 tablet into a futuristic heads-up display (HUD) projected onto your vehicle's windshield that's sure to make your passengers' jaws drop.
Step 1: Download & Install Navier HUD
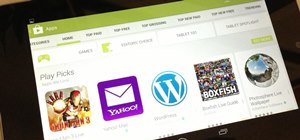
To transform your Nexus 7 into a HUD, we'll be using WhileRAIN Studio's Navier HUD Navigation, available for free on the Google Play Store. A premium version ($2.99) removes all ads and can sync data across multiple devices (for example, addresses and customized HUD layouts).
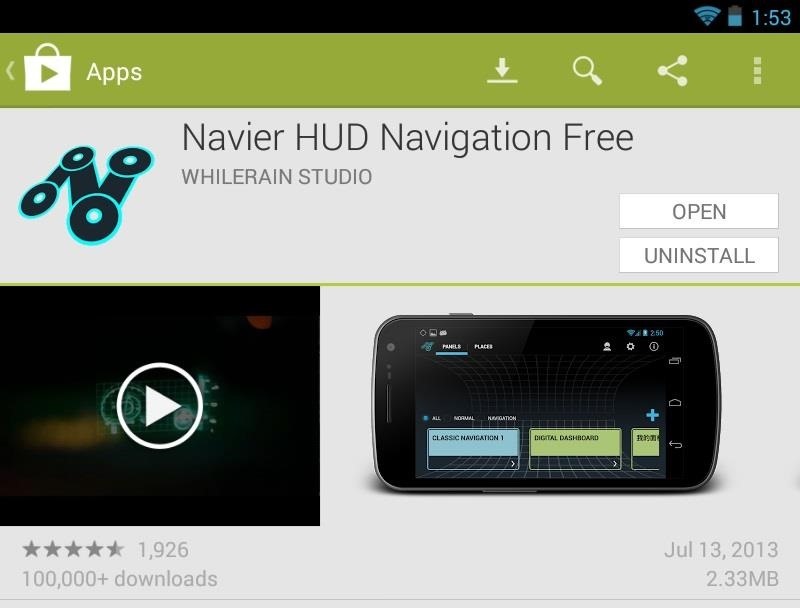
For our purposes, the free version will work just fine. The ads aren't very obtrusive; they're only on a few menus and won't show up on your HUD at all.
Step 2: Ensure Your Nexus 7 Has Data Connectivity
This app requires data, so if you have the 3G version of the Nexus 7, you're all set. If not, you can tether it to a smartphone with Wi-Fi hotspot capability.
If you use Verizon or AT&T, they offer free mobile hotspot service, which can be turned on in your device's settings, but if you use T-Mobile or Sprint, you'll have to find a workaround if you want to turn your phone into a free mobile hotspot.
For an example, check out Faisal's guide on turning a Samsung Galaxy S3 into free mobile hotspot, or his guide on doing the same on the Samsung Galaxy S4.
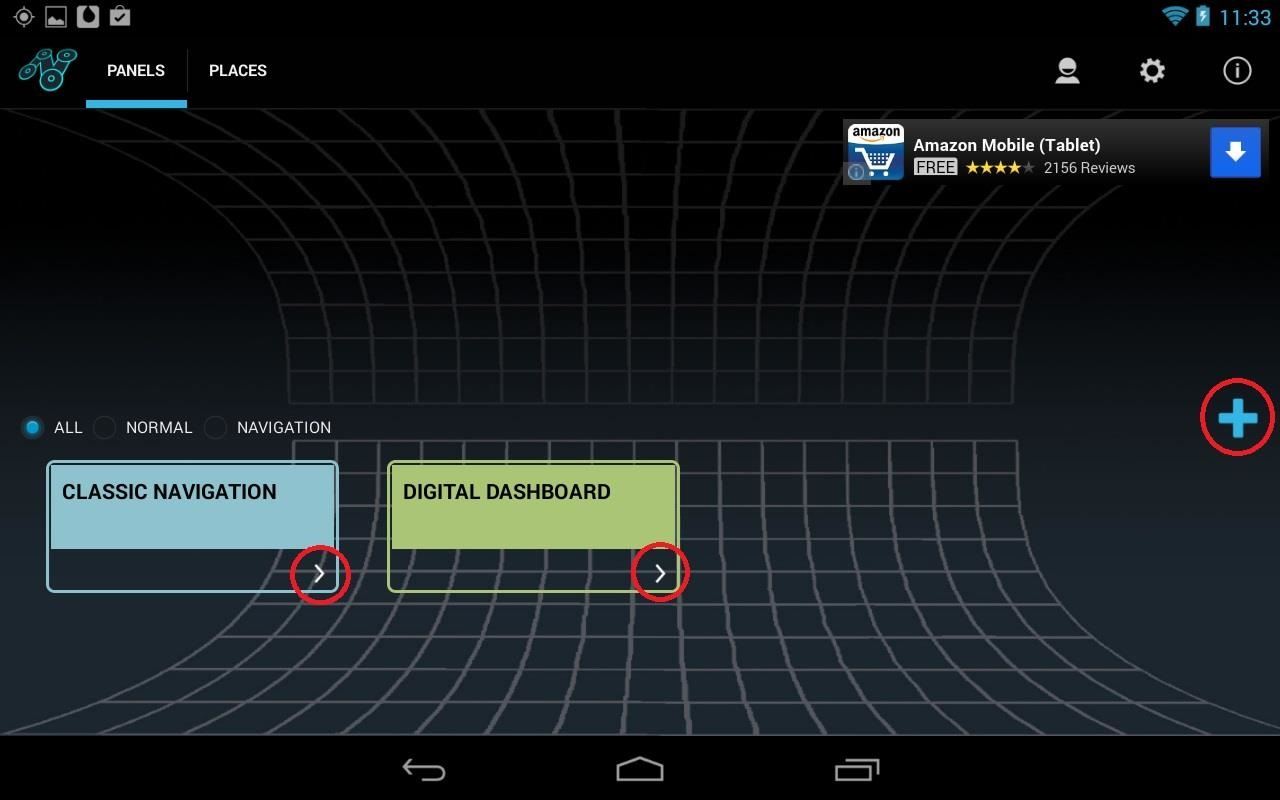
Step 3: Choose (or Build) Your HUD
You can select between two pre-built HUD layouts in Navier HUD, Classic Navigation and Digital Dashboard, or you can create your own HUD.
Classic Navigation
Type your destination into the search bar at the top, then tap the magnifying glass to search.
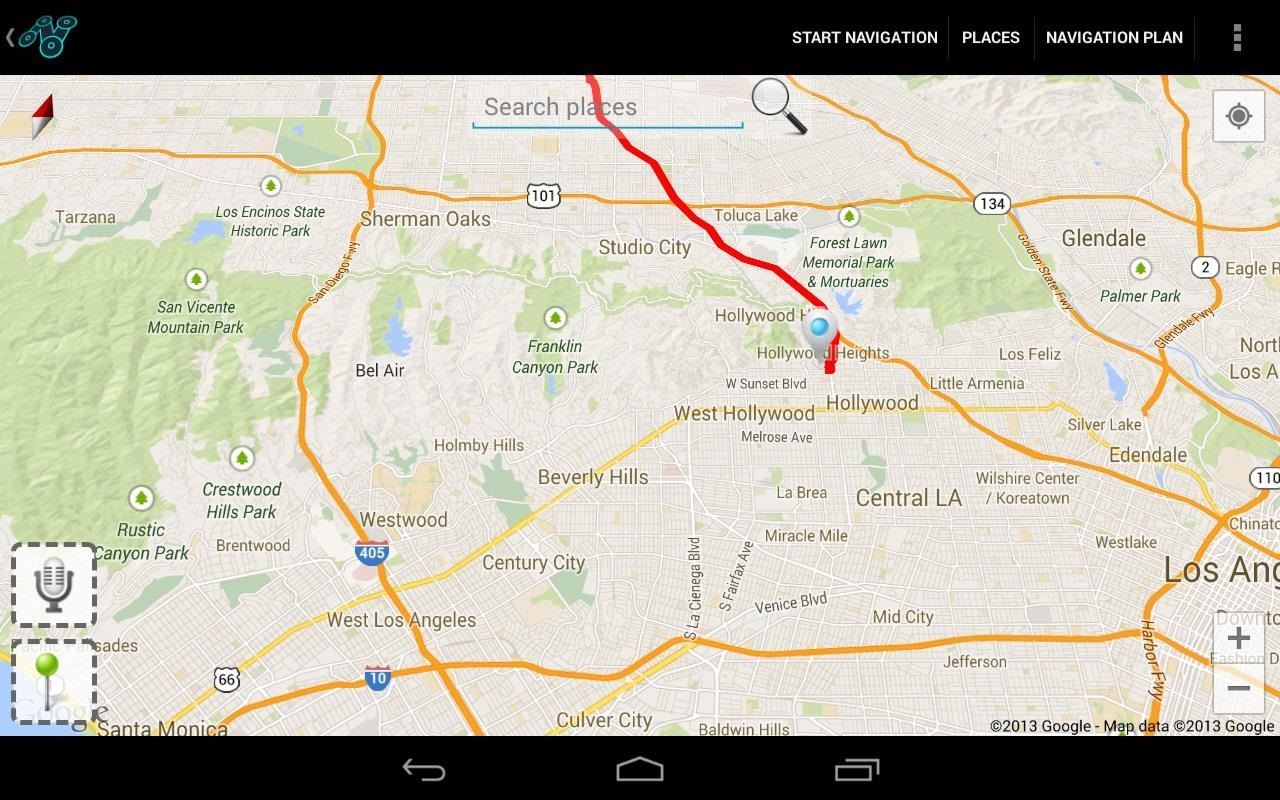
A pink pin (or multiple pins) will show up on the map indicating search results.
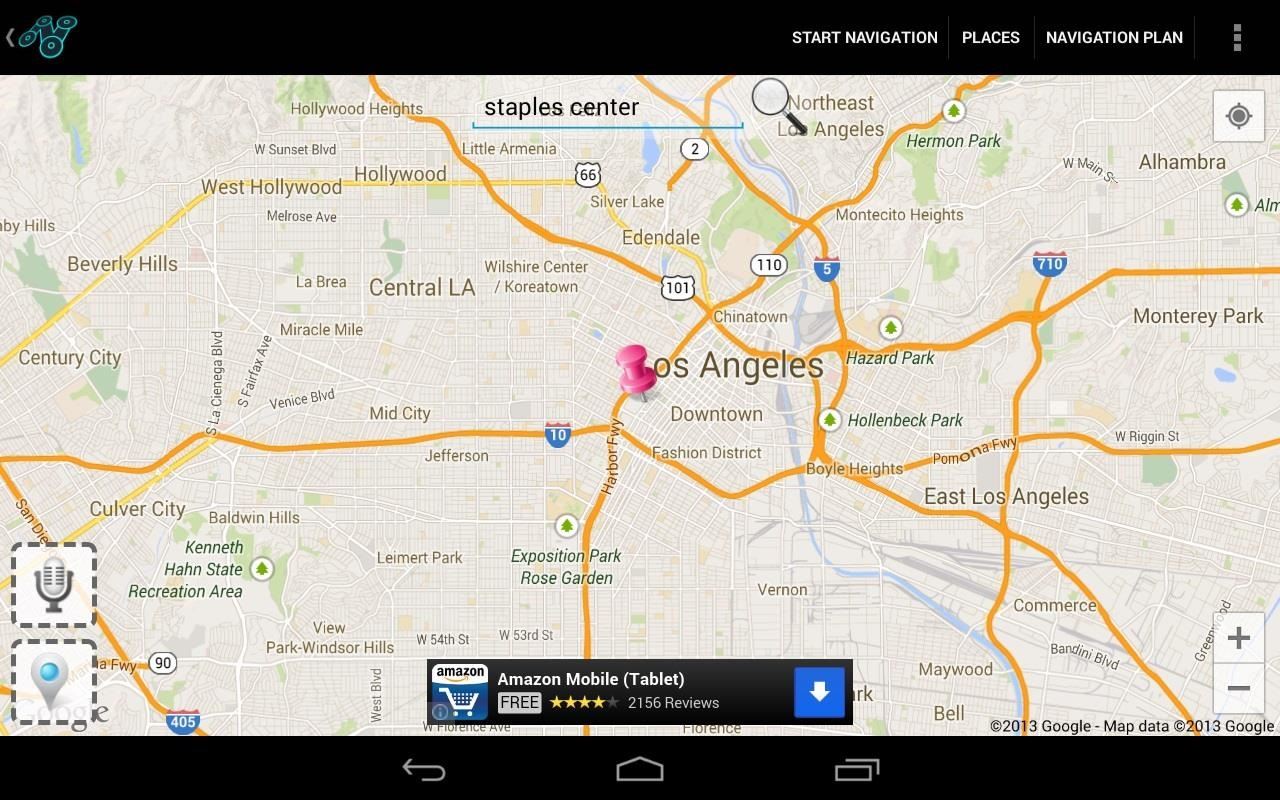
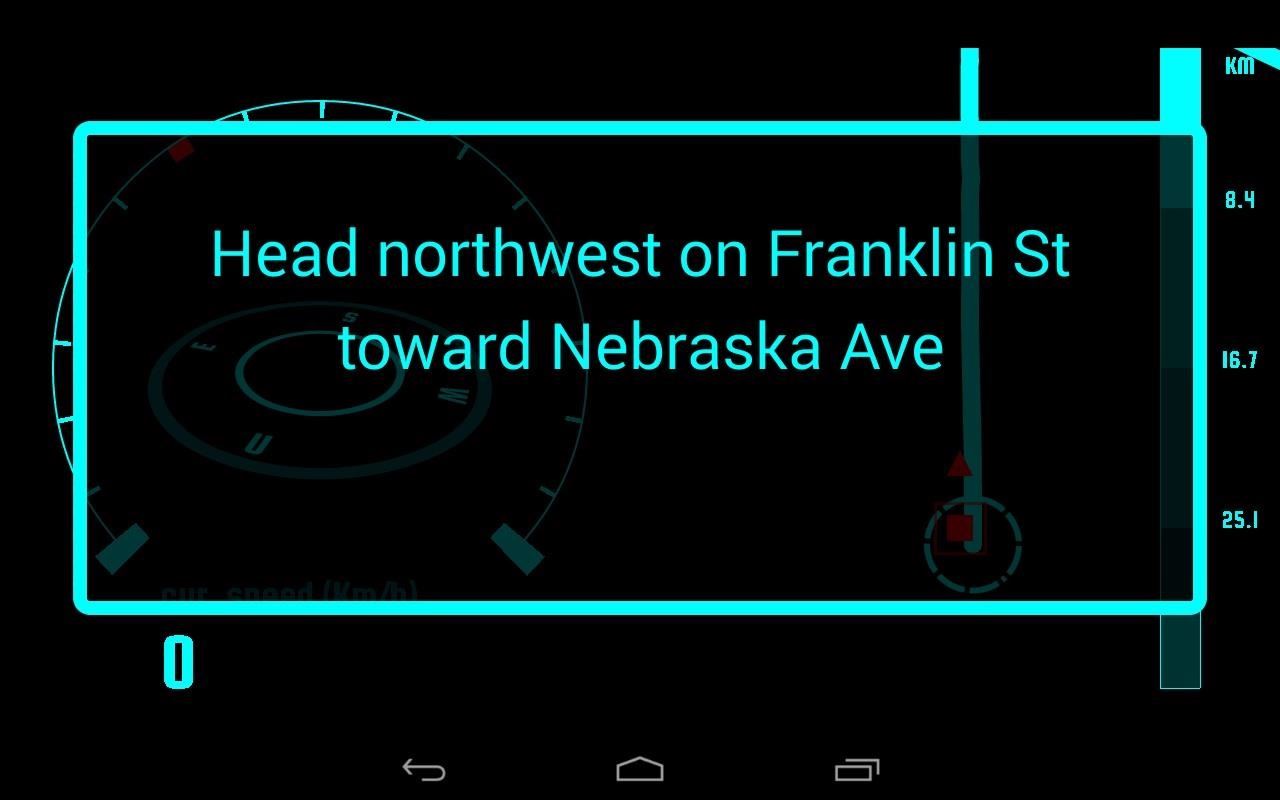
Tap the pin of your intended destination and a panel will pop up on the right side, planning your route. Select the triangle symbol in the top right corner to start navigating.
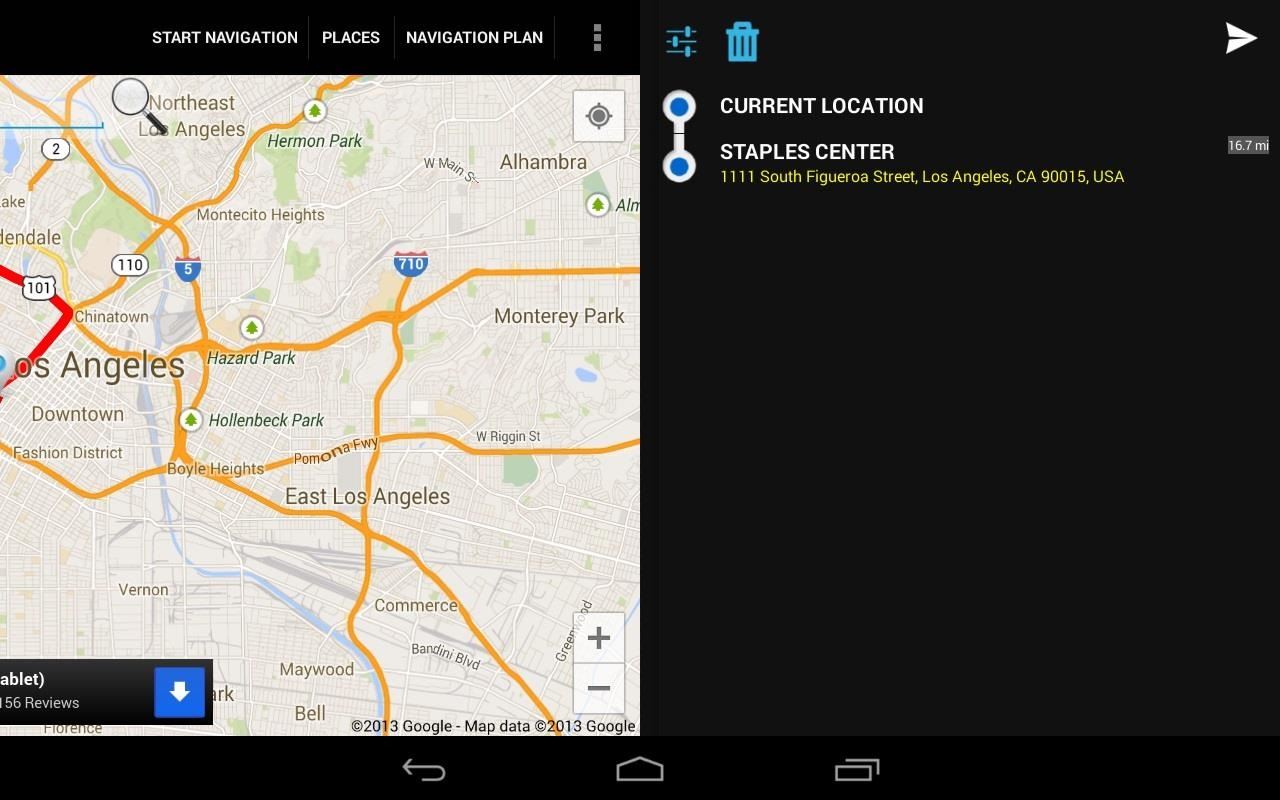
This HUD will show you a speedometer, compass, and show upcoming turns. Text directions will show up on the screen whenever a turn is coming up.

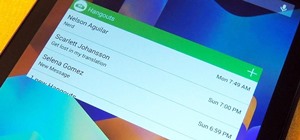
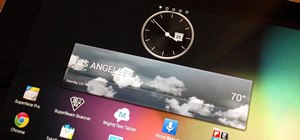
Digital Dashboard
If you don't need navigation, you can use this HUD to decorate your dash.
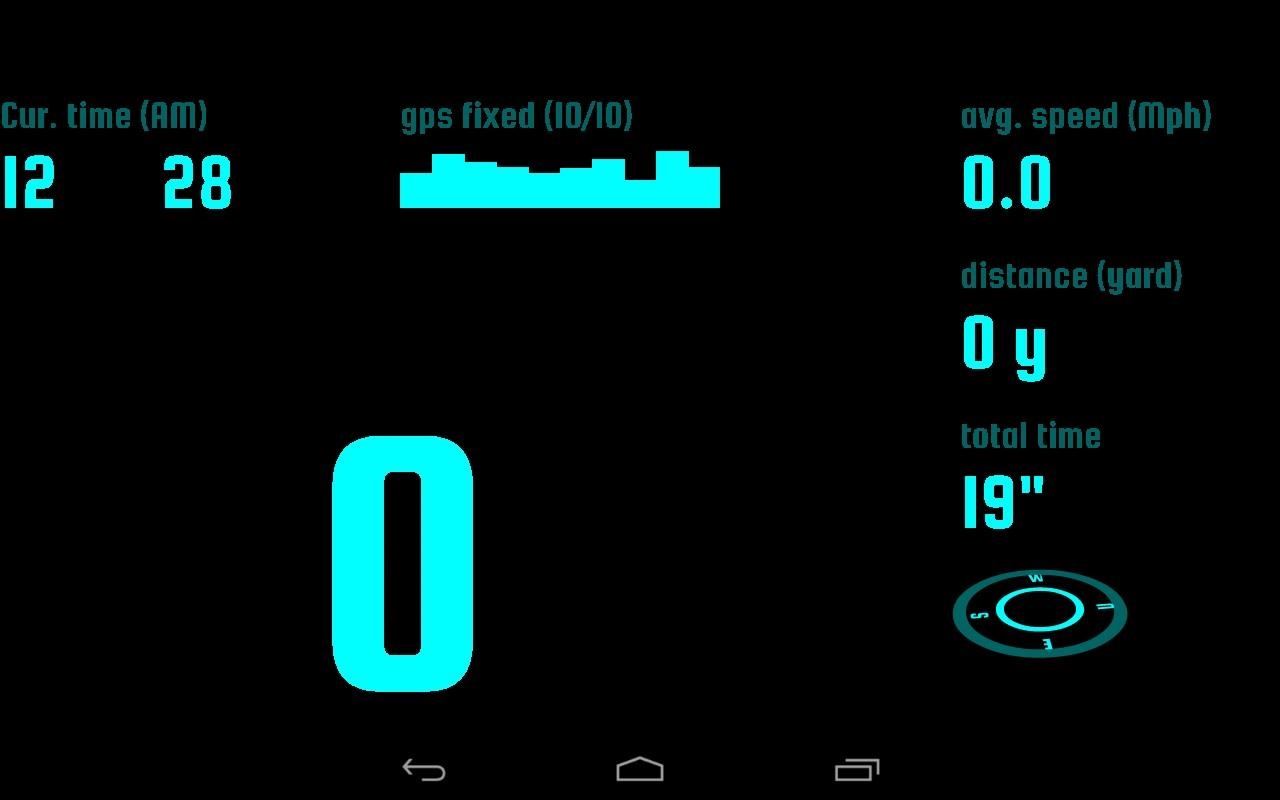
This layout will show you:
- Current time
- Speed
- Average speed
- Distance traveled
- Time traveled
- Compass
Create Your Own Layout
If you didn't like the first two, you can tweak either of them by heading to the main menu, tapping the small arrow under whichever one, then selecting Edit. You can also make your own from scratch by tapping the plus (+) sign on the right side of the screen.
If you do opt to make your own HUD, you'll be presented by a grid of squares, 16 wide by 8 tall. This will be the canvas on which to design your own HUD. Tap or swipe up on the tab at the bottom to see what parts you can put on your HUD.
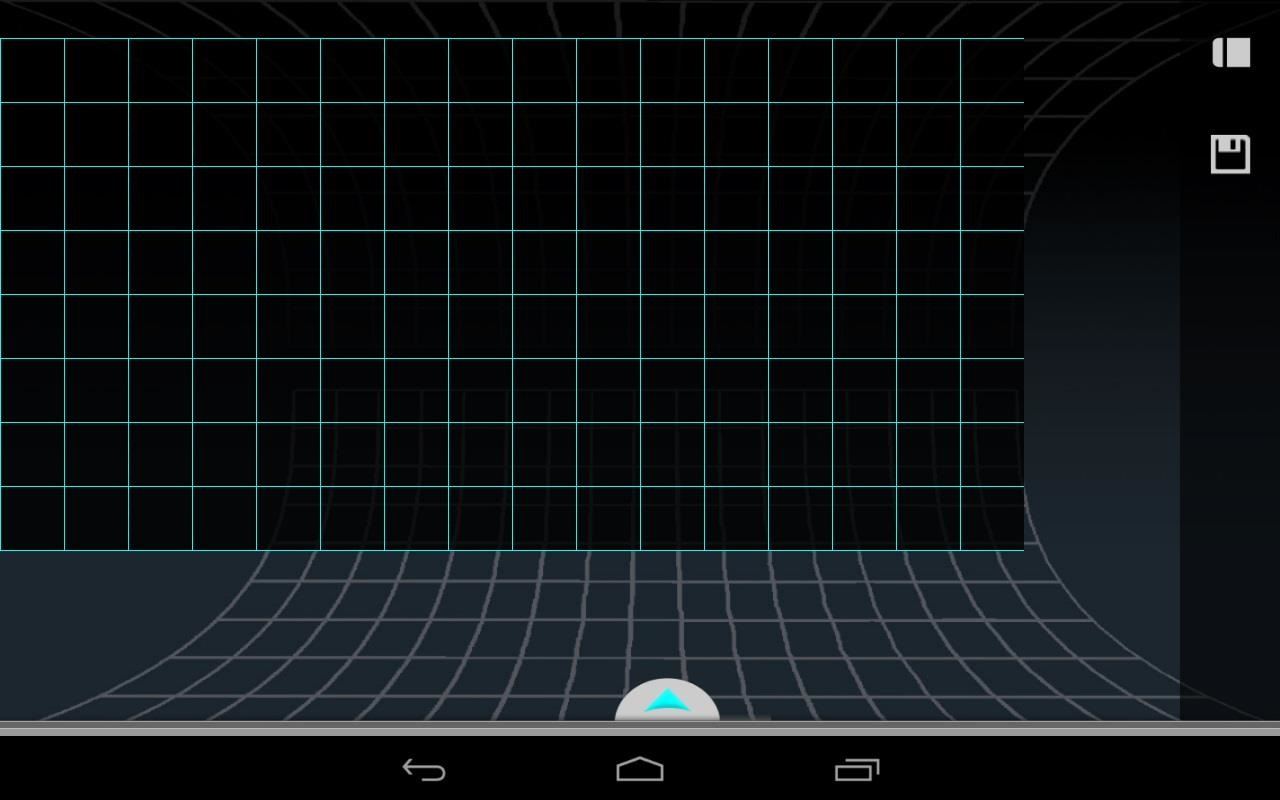
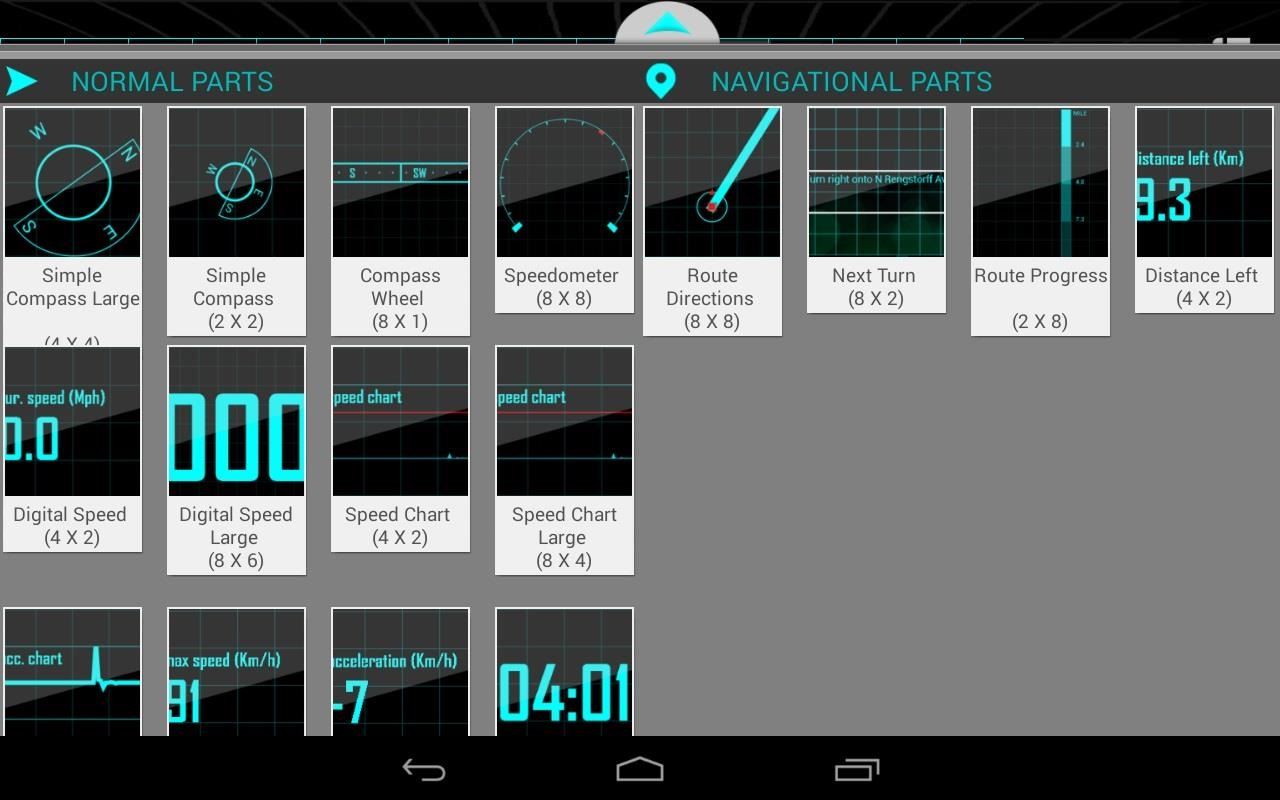
You'll notice they're divided up into Normal Parts and Navigational Parts. Having at least one Navigational Part will make your HUD usable for turn-by-turn navigation. Each part is labeled with what they will show on your HUD, and their size (width by height).
Simply tap the part(s) you want to use, drag them to where you want on the grid, then tap the green check mark to finalize its placement.

The red X will delete the part. You can erase the whole grid or save your layout with the two icons (eraser and disk) on the top right.
Step 4: Set Your Display Options
Once you've selected an HUD to use, tap once to bring up a few options in the upper right corner.

- HUD Switch: Reverses the image so you can reflect it onto your windshield. (We'll be doing this in the next step.)
- Show Grid: You can toggle the grid you were using to arrange your HUD parts.
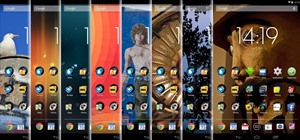
- Color: Choose between eight different colors to suit your own personal preferences. Sky blue is my favorite, and looks really cool at night!
- Speed Units: Toggle between miles per hour or kilometers per hour.
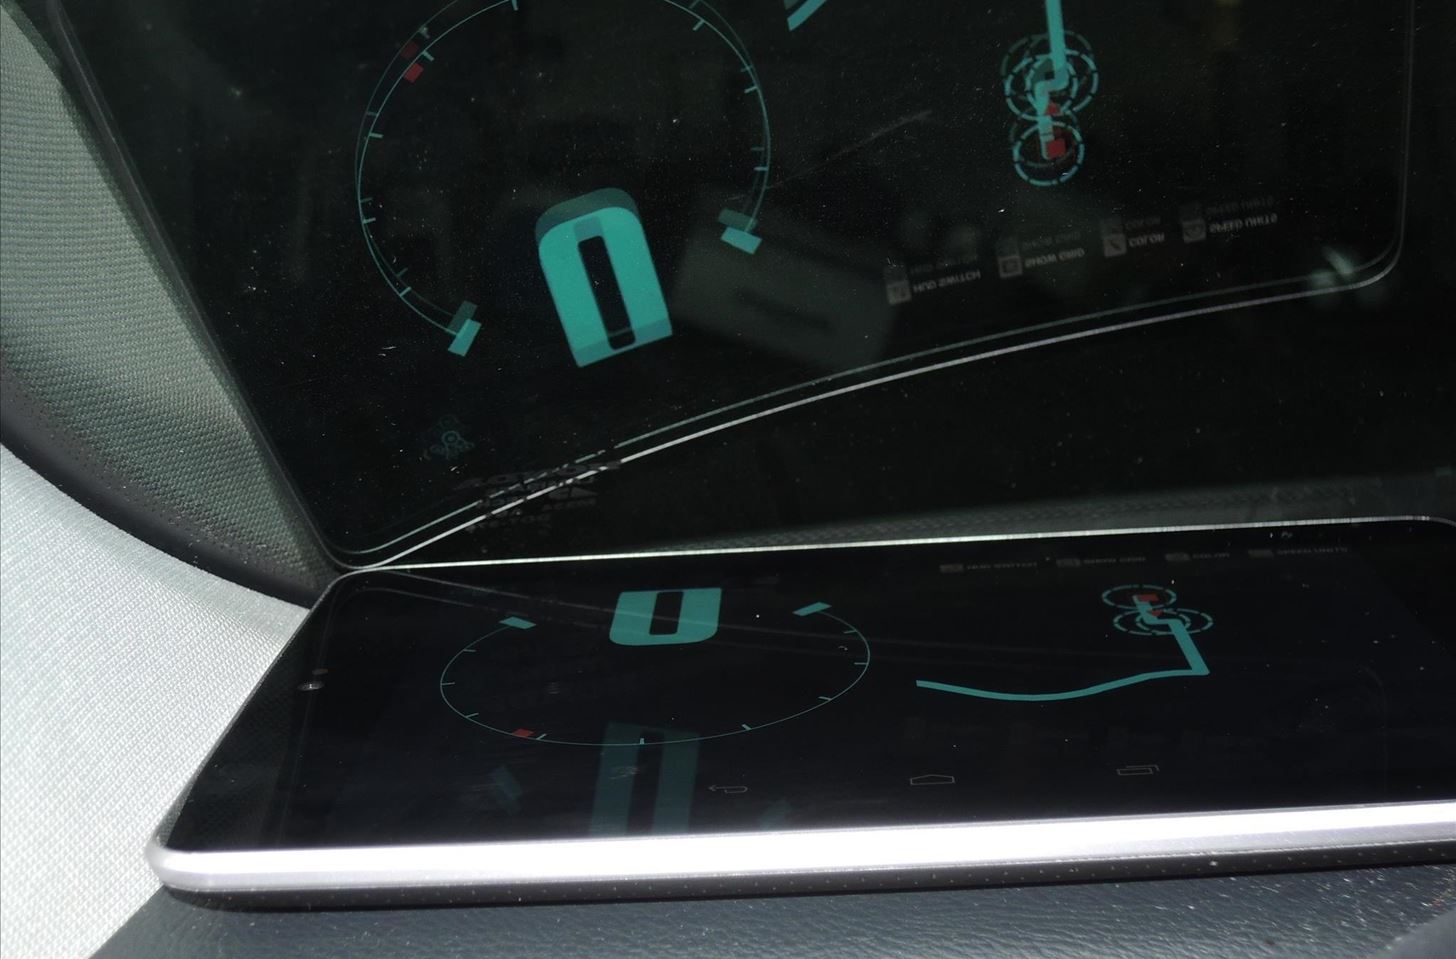
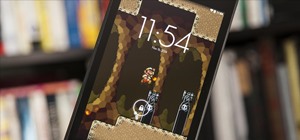
Step 5: Toggle HUD Switch
This reverses the image on the tablet, so that when it reflects onto your windshield, you'll be able to read it. This is a great option if you don't want want to buy or make a special holder for your Nexus 7 to view it. You just select the HUD Switch, drop the tablet on top of your dash, and you're ready to go.

Notes for Using Windshields
Reflecting the display works best at nighttime. In bright sunlight, you're better off looking at it head on, via a hands-free mount or dock, or just glancing over to it on the seat next to you. If you have a passenger, make them hold it.
Also, beware that you might notice a ghosting effect (i.e. double vision). This is the result of the safety lamination that comes on most windshields and there's not much you can. It's not really noticeable when you're using it.
Step 6: Place Your Nexus 7 on Your Car's Dashboard
Your experience may vary here, depending on the texture of your car's dashboard, and which Nexus 7 model you have. The 2012 N7 has a more textured back than the 2013 model, giving it an advantage in being a little less slippery.
If you find your Nexus 7 slipping across your dash as your car turns left or right, you may need to improvise a solution to keep it in place (i.e. Velcro, double-sided tape, etc.).
Step 7: Enjoy Your New HUD
Always make sure to drive safely! If you need to make any adjustments to the device, have a passenger do it or make sure you're pulled over to the side and at a complete stop.
Just updated your iPhone? You'll find new emoji, enhanced security, podcast transcripts, Apple Cash virtual numbers, and other useful features. There are even new additions hidden within Safari. Find out what's new and changed on your iPhone with the iOS 17.4 update.


3 Comments
Now you tell me which is better? Which would you really rather have? Yes, this is a Nexus 7 too. Plus you can still do all the other stuff a Nexus 7 does at the same time.
Like maybe watch a baseball game?
It actually works on most Android phones. I have it installed on my HTC Evo 4G LTE, and it works perfectly.
I have installed an android tablet into my car and used it as my main car stereo and navigator. It's too bad there wasn't a way though to have the tablet power on when you turn the car on like a stereo. Well, i guess there is Tasker, but it's a paid app and relatively complicated. Some days ago i stumbled upon an app that definitely seems to simplify this basic purpose. It is called Autosleeper Auto power ON-OFF. Here is the link at Google Play: https://play.google.com/store/.... Is there anyone who has used it? I am quite happy with it's performance, but i'd like some feedback for this app or alternatives i can use...free is always preferred.
Share Your Thoughts