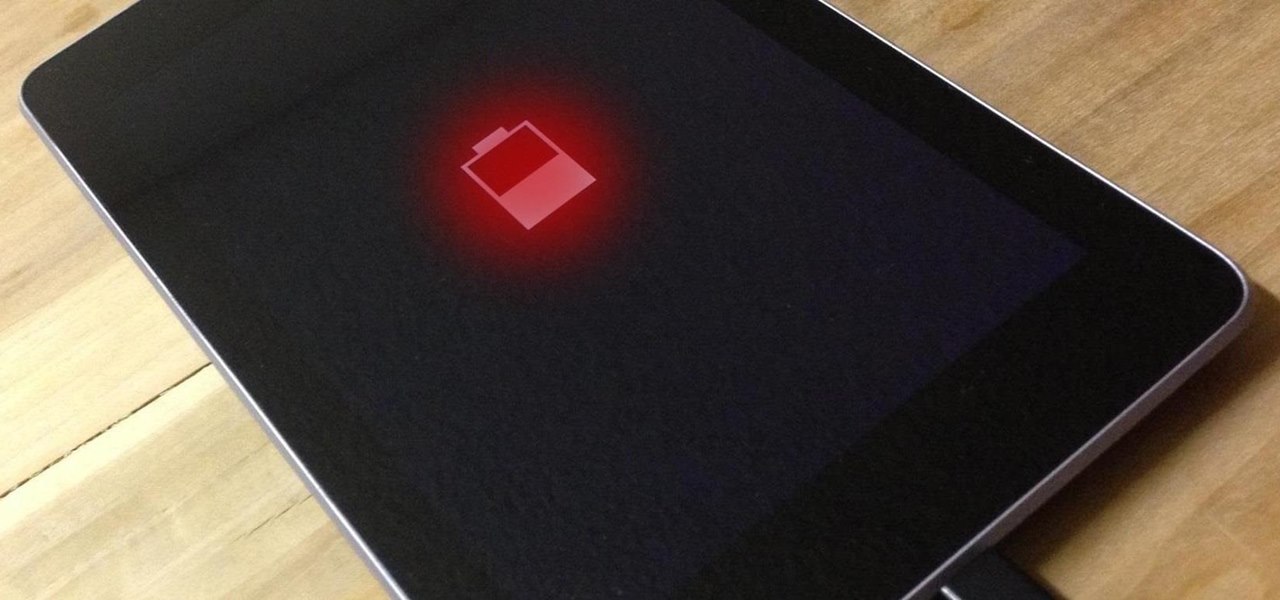

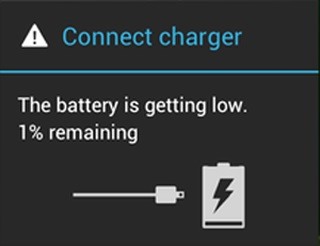
Like most Android devices, the Nexus 7 suffers from its fair share of battery gripes. Nobody wants to see that dreaded "connect charger" warning pop up on their screen. NOBODY. Yet it probably happens to you every day nonetheless. What can you do about it besides charge, charge, and charge?
Well, there's actually plenty that you can do. You can manage your notifications better, keep your screen brightness low, and kill apps running in the background. Or, you could just optimize your battery to its full potential, squeezing every bit of juice out of it!
How exactly do you do that?
Use a Custom Kernel
The stock Nexus 7 kernel isn't built efficiently enough in regards to battery life. Installing a custom kernel that's battery-centric will help keep you powered up longer, and hopefully you'll never have to see that "connect charger" warning ever again!
Sure, you could install some battery-saving apps to help you out, but who wants to do that when you can just go under the hood and fix it? It's really simple and quick to do!
For this how-to, I'll be using the Franco Kernel by famed developer Francisco Franco, who created the Simple Reboot and Nexus 4 Display Control apps. In my tests, this kernel has proven to be the best battery efficient one out there that does not compromise the overall performance of the Nexus 7.
How to Install the Franco Kernel on Your Nexus 7
You'll need to rooted with a custom recovery to follow this guide. So, head over to my definitive guide to softmodding your Nexus 7 tablet before getting started.
Using your Nexus 7 tablet, head over to this link and download the latest Franco Kernel. Newer versions will be listed with the highest number.

Boot into your custom recovery by powering it off, then press and hold both power and volume down buttons. Then just follow along with the quick steps below.
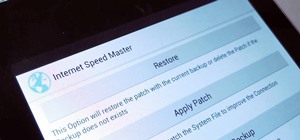
- Tap on Install.
- Go to the Downloads folder.
- Tap on the Franco Kernel .zip file.
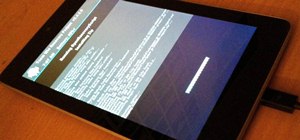
- Then just "Swipe to Flash" (i.e. install).
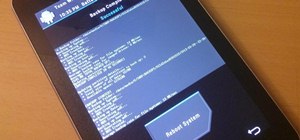
- Reboot.
Like I mentioned before, this is quick and easy! You'll be able to verify that the Franco Kernel has been installed by going to Settings -> About Tablet and looking at Kernel version.

There's nothing to configure! The kernel does all of the battery saving work while you use your Nexus 7, but you can always still do some additional tweaks for maximum battery life. Here are a few of my own tweaks that I made after installing Franco.
- Disable NFC in Settings -> Wireless and Networks -> More....

NFC is one of those great features with a lot of promise, but almost nobody ever uses. I recommend disabling this unless you have NFC-enabled devices (speakers, tags, etc.) connected to your tablet.
- Disable Bluetooth in Settings -> Wireless and Networks -> Bluetooth.

Same with Bluetooth. Unless you use Bluetooth headphones or devices connected to your Nexus 7, turn this off.
- Tweak screen brightness.
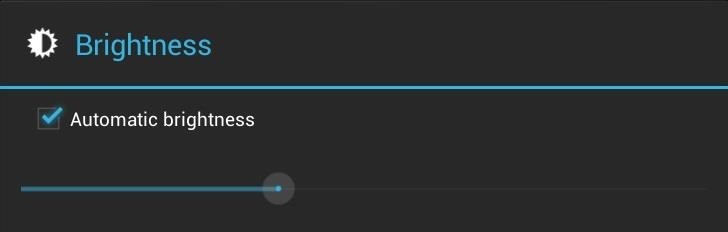
Auto brightness is good enough for most users, but try adjusting it to the lowest setting you can go to before you can't see the screen.
Keeping Franco Kernel Updated
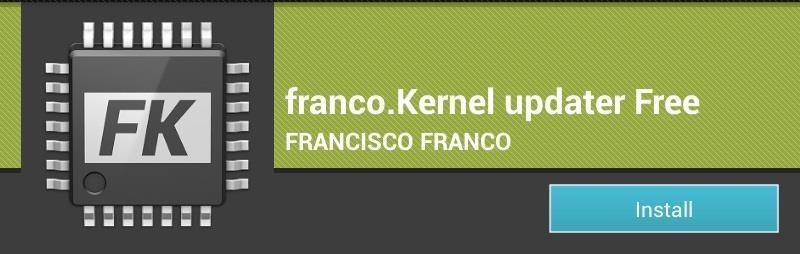
Since your kernel is essential for your Nexus 7's power saving abilities, it's best to keep this updated. Luckily, there's an app on the Play Store to do this for you called Franco.Kernel Updater Free. Download and install this app on your Nexus 7 tablet.
Launch the app and tap the option for updates.

That's it! Your battery life should be much better now.
Users with the Franco Kernel usually get an additional 2 hours of constant on-screen time. Don't believe me? Check out the hard numbers over on XDA, where Bailey Cook did a kernel comparison with the Nexus 7 in mind specifically. Franco Kernel came out on top!
- Franco: 7 hours 50 minutes
- M-Kernel:7 hours 10 minutes
- GLaDOS: 7 hours
Lastly, here's my battery usage on my Nexus 7 tablet.. As you can see, mine latest over a day and I still haven't had to charge it.

Give it a try and increase your battery life now! Let us know if it worked for you.
Just updated your iPhone? You'll find new emoji, enhanced security, podcast transcripts, Apple Cash virtual numbers, and other useful features. There are even new additions hidden within Safari. Find out what's new and changed on your iPhone with the iOS 17.4 update.


22 Comments
It Works fine, but Just in case, how uninstall It?
To revert back, you'll have to restore to stock or reflash your rom.
If I run this kernel, will it prevent me over clocking my nexus 7 shown in a previous guide?
Yes, kernels are specific to what you want your Nexus 7 to do.
This is a real power-saving kernel. I am using this together with Smoothrom 5.1and Nova launcher with the TouchWiz interface.
Glad it worked out for you!
Hi
Does it work with Android 4.3
I tried to do folow your steps, but it just have X symbol of nexus when I reboot device.
Thank you
this is a link to the 4.3 kernels.
This meesed up my v1 Nexus 7 on 4.3 JellyBean. Please help me, after flashing it and then selecting to reboot it, my Nexus 7 won't boot past the screen that displays the X. I have tried to restore but even restoring doesn't work. Please help me. Email me at: chaosk9723@gmail.com because I'm not generally on these forums.
DAMM it happens the same to me :(
Have you already fix it?
Thanks
Have you found the solution?? Same problem :'(
Maybe you flashed a kernel for android 4.2.x. You have to flash android version specific kernels for it too be able to work. To fix this, reboot into recovery, factory reset (won't wipe your internal memory), wipe cache and dalvik cache and then flash a new Rom. Since wiping everything doesn't wipe custom kernel files, this might be your solution. I am not responsible for any hard or soft bricked Nexus'.
I tried to install but it keeps telling me that the installation failed. What am I gonna do with that?
I installed the kernel while being on 4.3 and now im stuck on X screen, i realized now that i was supposed to install the 4.3 kernel but i cannot get past this screen how can i install the correct kernel now?
the same here :((
Are you still stuck on that?..
i am screwed. I bought nexus 7 version 1& to improve the battery life I followed the 'definitive guide to bootloader,rooting' etc provided on this site.As soon as I pressed 'install the fransico kernel' and pressed 'reboot' my nexus 7 was screwed.Now i cannot get past the 'Google' icon & 'X'icon. What do i do? The restore factory setting in the 'recovery setting' is no help. I even tried the ' The definitive guide on how to restore nexus 7 to factory settings' using nexus7 rootkit. After i press 'flash stock+unroot' i am stuck & it says 'i need to fix the 'USB debug connection'. how can i do that if i cant get into my tablet screen.I have lost my tablet bcos of this misguide
Maybe I have to consider myself lucky.
I tried to install the Kernel three times, and I couldn't (twice the 4.2 and once the 4.3). I don't know if it because mine's a Nexus 7 (2013) or because I'm too useless to install it, but reading at how many users can't boot after installing I'm gonna let it go.
Frankly for what I use my tablet, the battery consumption is negligible as it is.
Hi,
how can I uninstall it? My tablet won't start up, it is stuck on the X screen! I've made a HUGE mistake I know, but how do I fix it now??
Guys i think i found a fix for those who are stuck on the X screen after installing the kernel on N7 v1 running 4.3
1.download the r75 kernel zip file for 4.3.
2.Boot into TWRP recovery mode.
3.Go under mount > USB OTG (put zip file into thumdrive and use otg cable to connect to your N7)
4.Flash the file and reboot your device
It worked for me and hope it works for you too! :) But i am not responsible if anything happens to your device :P
EVRYONE, READ THIS:
If you have been stuck on the x screen because this mod you tried to flash in this article, do not panic. Download on your computer co u wugs nexus 7 root toolkit and flash it back to stock/normal, although I erases the entire nexus storage, it's better to have a fresh start than be stuck with a virus - cough(bricks my nexus four times in one day) cough-
This flash does not work on kikat 4.4 or jellybean 4.3,i am not sure about 4.2 though. IT WILL MESS YOU UP, or if your lucky, not do anything at all. Although I'm 14, trust me
Ps, Kikat 4.4 is not as good as everyone expected it do be, drains battery in less than 2 hours and takes over 10 hours just to charge it., , so don't upgrade/I wouldn't recommend
when you said "flash it" did you meant on button "Flash stock + Unroot"? And how to erase the entrie nexus storage? I have kitkat 4.4 and I chose this option and set factory image on 4.2.1 is that good? please help
Share Your Thoughts