
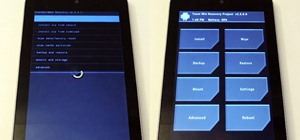
Rooting is a great way to unleash your device's full potential, but not everyone's comfortable with it. Rooting can void a warranty, cause issues with certain apps, and the process itself can be tricky for older devices. Alas, most of the great apps or mods out there require root access, like the ability to utilize a built-in KitKat feature known as Immersive Mode.
Immersive Mode removes the status bar, which is where your pending notifications, time, and system icons (Wi-Fi, Bluetooth, mobile network, battery status, etc.) reside, as well as the navigation bar, which is where your soft keys (back, home, recent apps) are located.
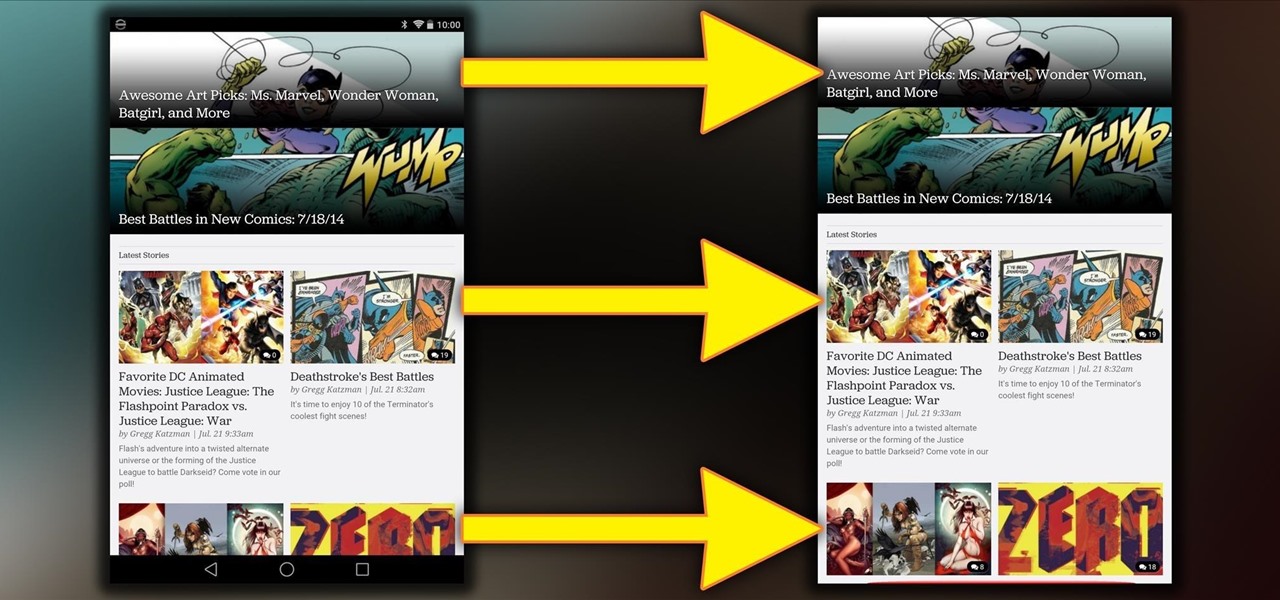
Removing the status and nav bars from your Android device creates a more full-screen, or "immersive," experience. And now, thanks to Good Mood Droid, we can obtain this great feature on any non-rooted KitKat or Android L device using the GMD Full Screen Immersive Mode app on Google Play.
Note that while I'll be using a Nexus 7 tablet for this guide, the app should work with any device that utilizes soft keys, e.g., any Nexus device, HTC One, LG G3, OnePlus One, etc.
Configuring Immersive Mode
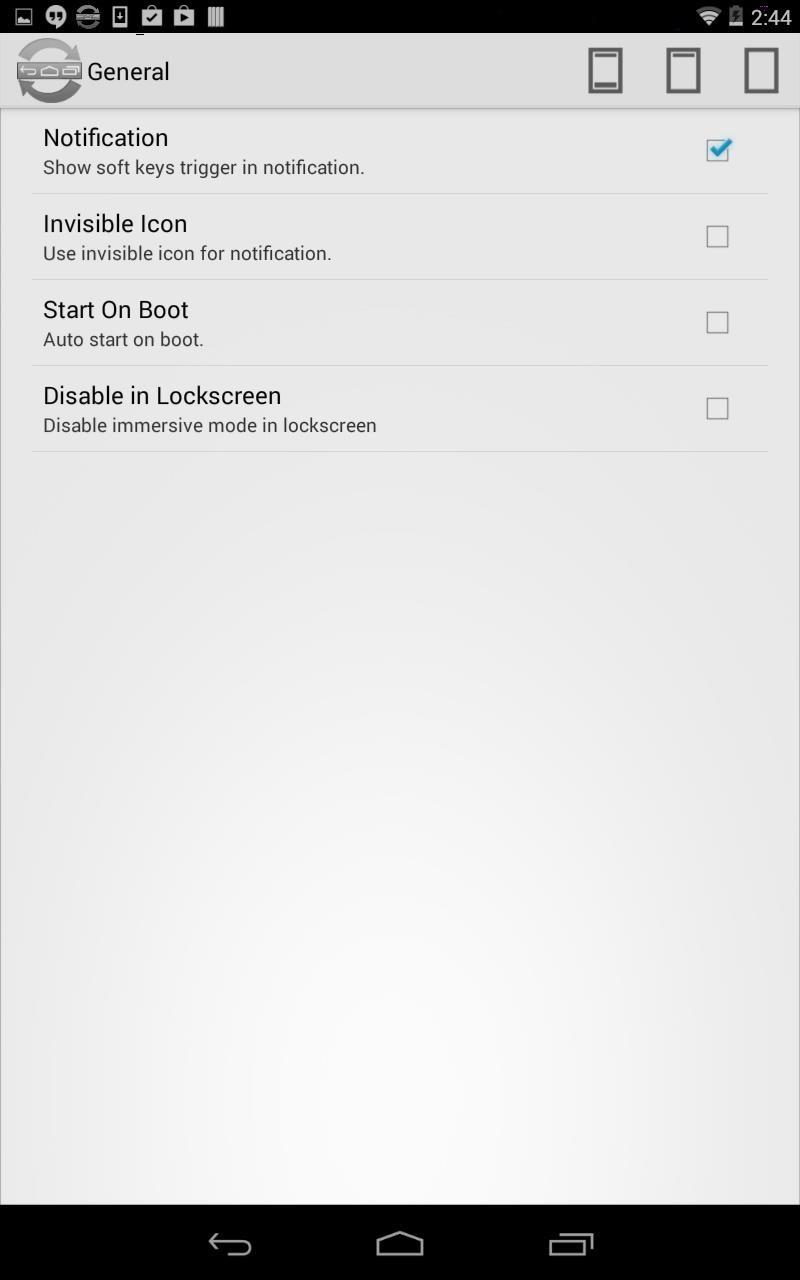
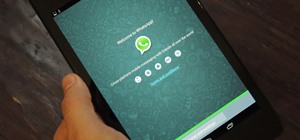
Open up GMD Immersive to access the settings, then enable Notification in the General subsection. You can also decide whether you want an invisible icon for the app's pending notification in the status bar, as well as whether you want the app to start on boot and remain active in the lock screen.
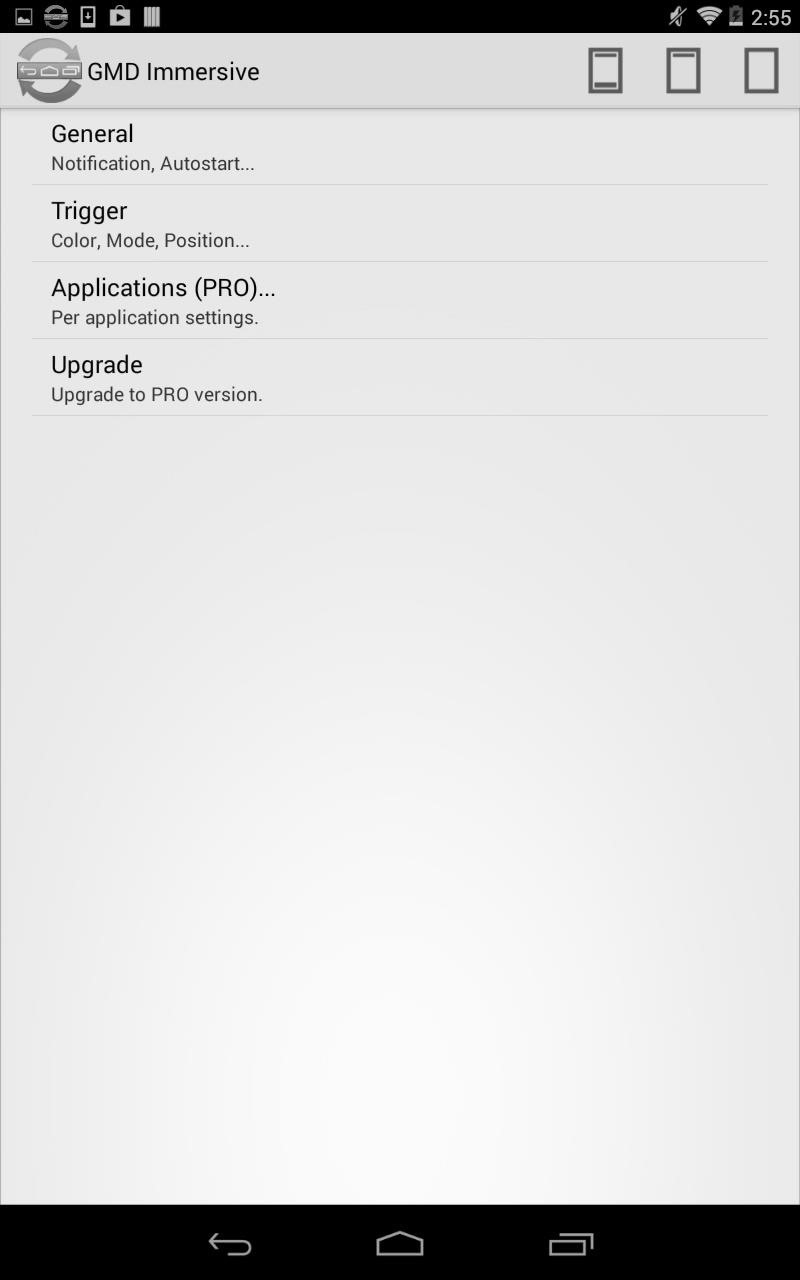
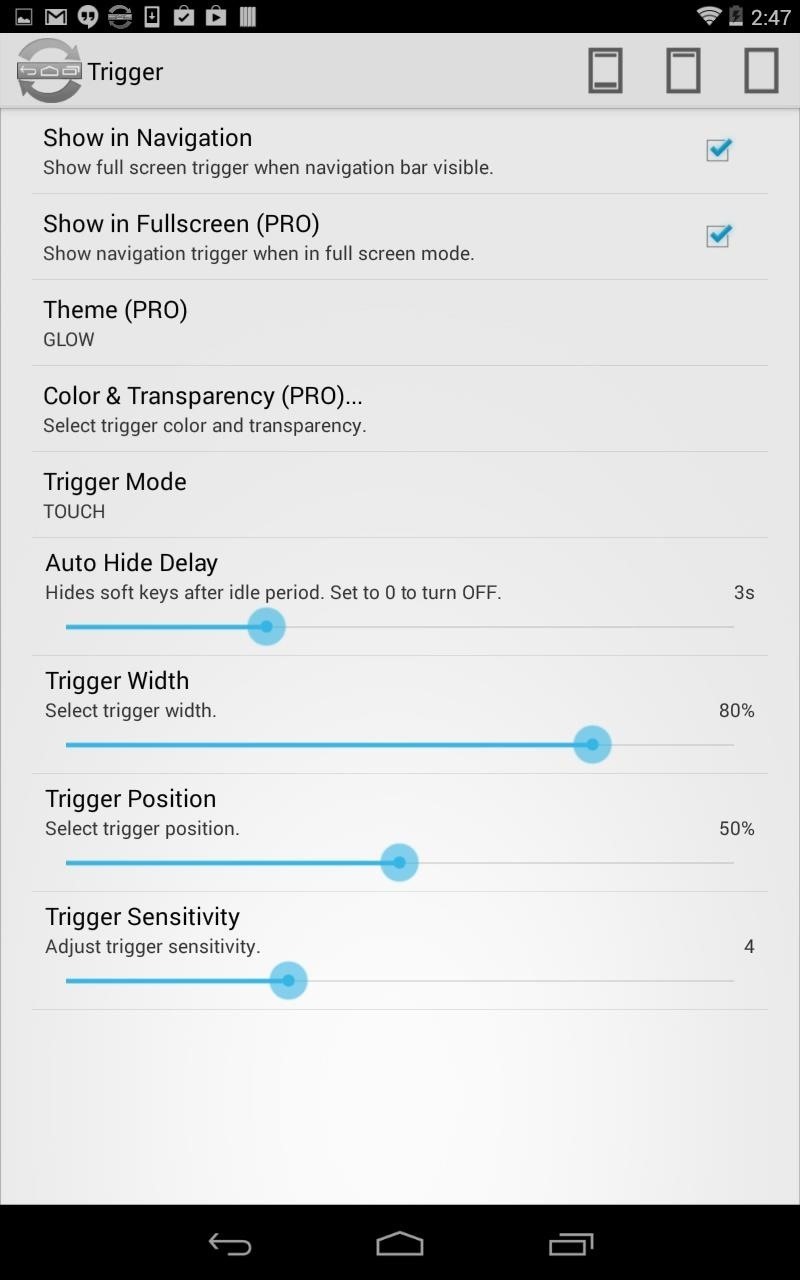
In the Trigger subsection, you can make changes to the positioning and sensitivity of the trigger that is shown at the bottom of your screen to recall the status and nav bars. Additionally, you can set Immersive Mode on a per-app basis through the Applications subsection, although that is a PRO feature.
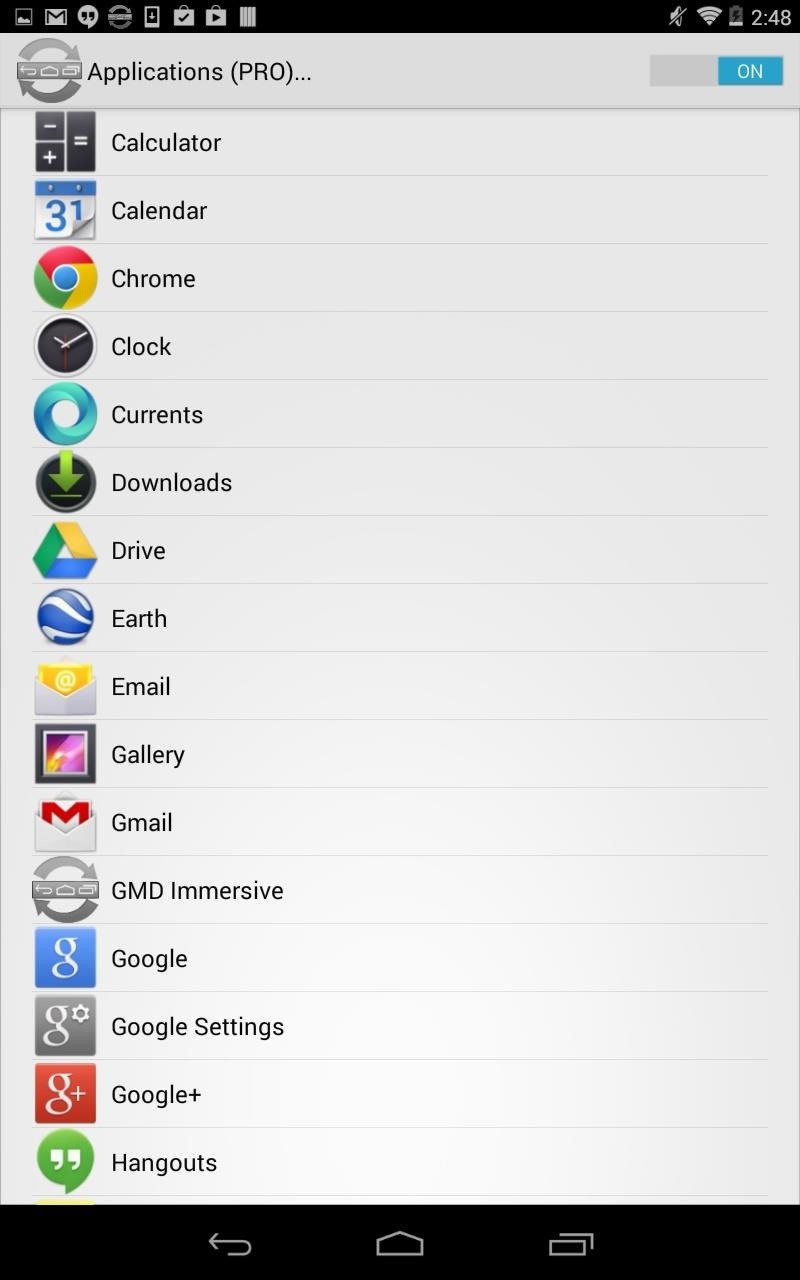
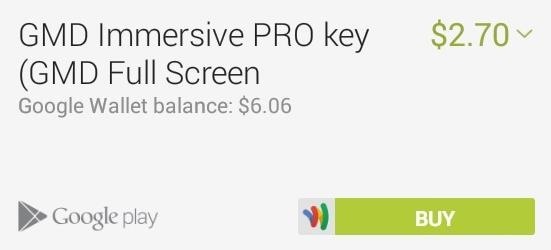
You can unlock the PRO version with an in-app purchase of $2.70.
Using Immersive Mode
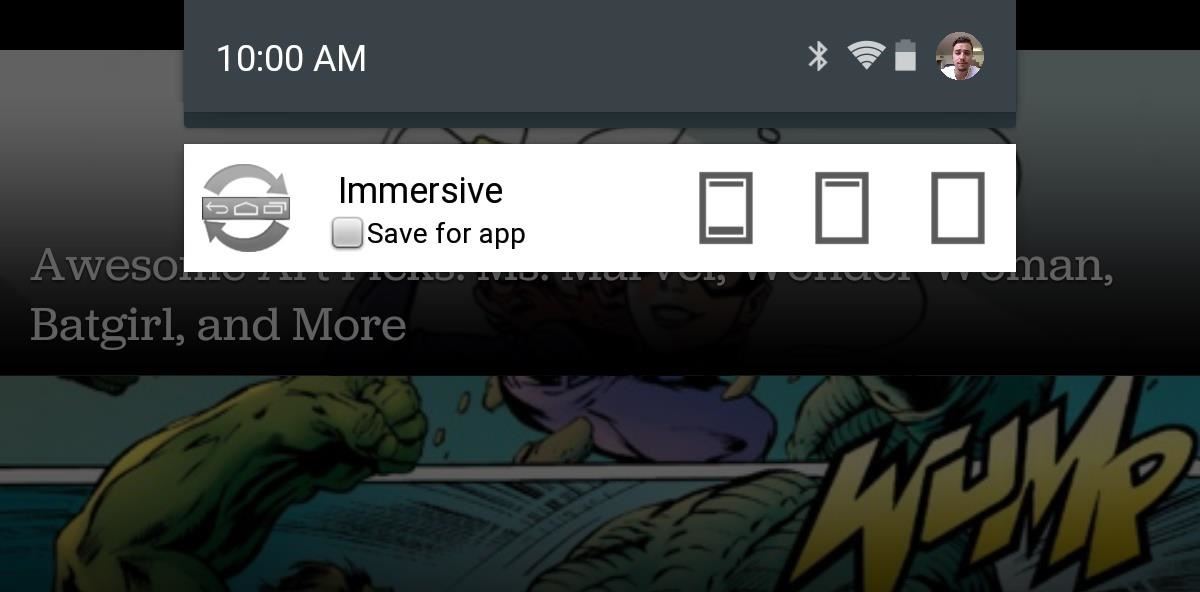
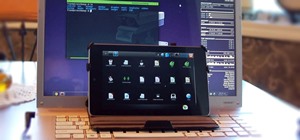
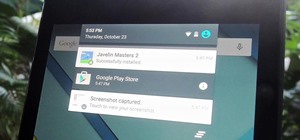
Whether you're in an application or on your home screen, pull down your notification panel to choose which immersive screen you want to enable. You have the choice of either keeping both bars active, removing the nav bar only, or removing both the nav and status bars.
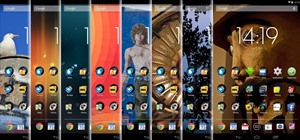
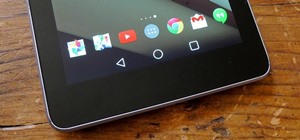
With both removed, those bold black borders on your screen will vanish, expanding your viewable area. It's a great way to enhance your reading activity and internet browsing on your device. To expose the nav bar again, just tap or swipe the red trigger area along the bottom.


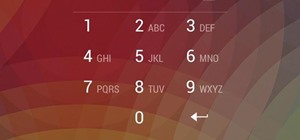
Beware that your keyboard may not work in Immersive Mode, which is why having the toggle in the notification shade is so handy.

All-in-all, this is a fantastic feature, and now there's finally a way to enable it without requiring root access. Give GMD Immersive a shot, and let us know what you think in the comments below.
Just updated your iPhone? You'll find new emoji, enhanced security, podcast transcripts, Apple Cash virtual numbers, and other useful features. There are even new additions hidden within Safari. Find out what's new and changed on your iPhone with the iOS 17.4 update.


2 Comments
Thank you for this excellent tutorial. I do have another query, that I'm hoping you could help me with.
Currently I'm using a samsung tab3 to make videos and upload them to my youtube channel for ease. When I upload my vids, I get a horrid black boarder either side of my vids. I film in landscape mode, but can't locate any other settings on 'camera' mode that allows me to eliminate these unsightly boarders. It's driving me crazy...can you help?
Does your editor allow you to crop them out in any way?
Share Your Thoughts