
The NSA's massive internet spying efforts will continue.
In President Obama's latest press conference, he went public to (in so many words) say that the NSA's spying efforts will continue uninterrupted. This, coming just weeks after the Amash Amendment which would have defunded the program, was narrowly defeated in the House (you can check if your congressmen voted against it here).
What this means is, at least for the foreseeable future, anything you do online might still be getting sucked up by the dragnet of big brother, whether you like it or not (and whether you trust them or not).
Today, I'll be showing you how to block government IP addresses (and those of corporations that may be snooping around to make sure you're not downloading certain copyrighted files) from being able to connect to your Nexus 7 tablet. This can also block connections to adware, spyware, anti-p2p groups, and many other entities that can jeopardize your privacy.
Step 1: Make Sure You're Rooted
You'll need to be rooted, so be sure to check out my Nexus 7 rooting guides for Windows or Mac if you're not already.
Step 2: Enable Unknown Sources
We'll be side-loading, or manually installing, an application (APK file) that's not available in the Google Play Store, so be sure to enable Unknown Sources under Device Administration in Settings -> Security.

Step 3: Install the Xposed Framework
Next, we'll install Xposed on our Nexus 7s, which you might remember seeing in one of my previous softModder guides on customizing Android app icons with free themes.
Xposed is framework created by developer rovo89 that's used to easily mod the Android system with free plugins and no messy ROM flashing. Download the latest version of Xposed Installer (currently 2.1.4) using this link, or head over to the official thread on XDA to check for updated APKs.
Click Ok to download the file.

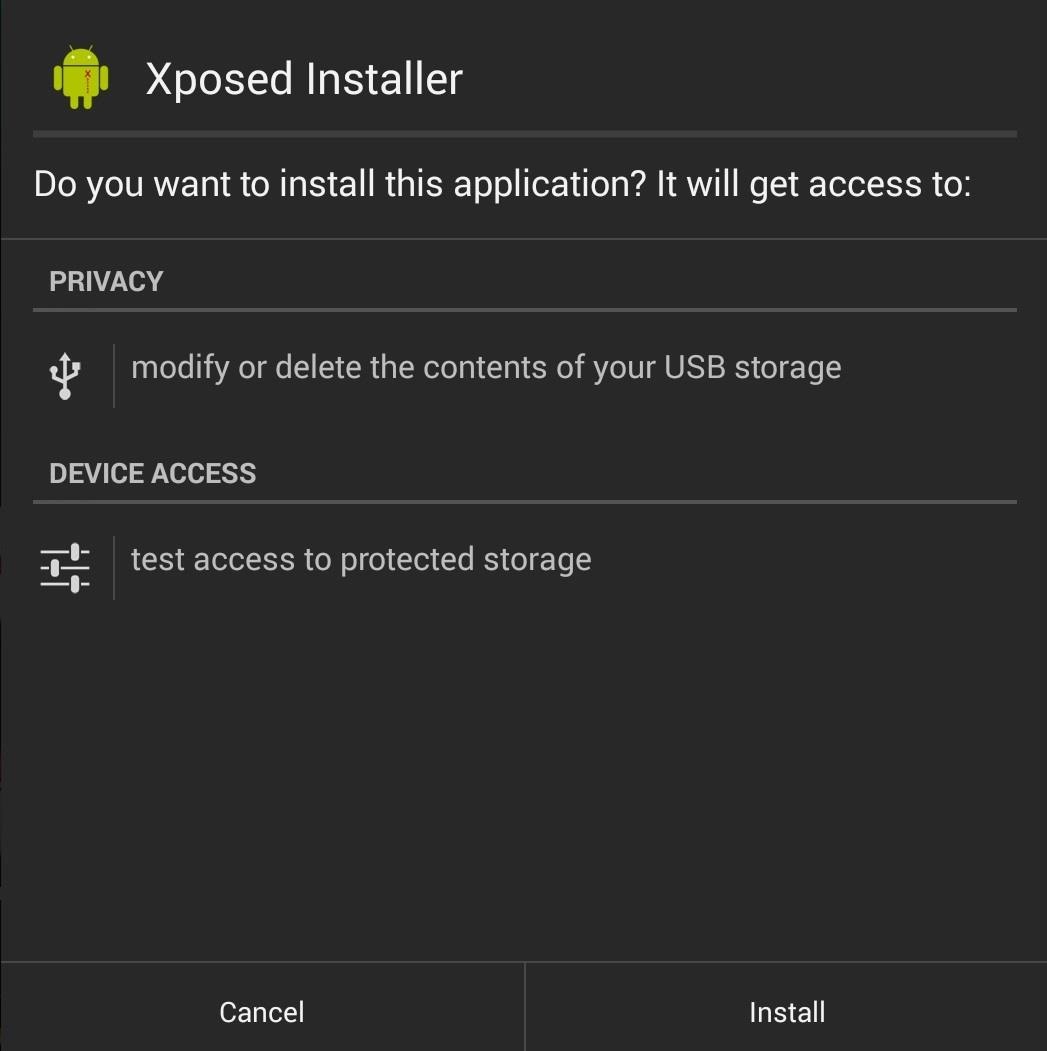
Once downloaded, tap on the APK file in your Notification tray, or from your Downloads folder.

Then install.
Step 4: Update the Xposed Framework
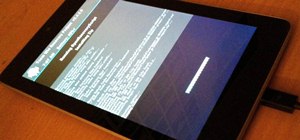
Launch the Xposed Installer and tap the button for Install/Update. Wait until you see Done to be sure it's installed and updated.
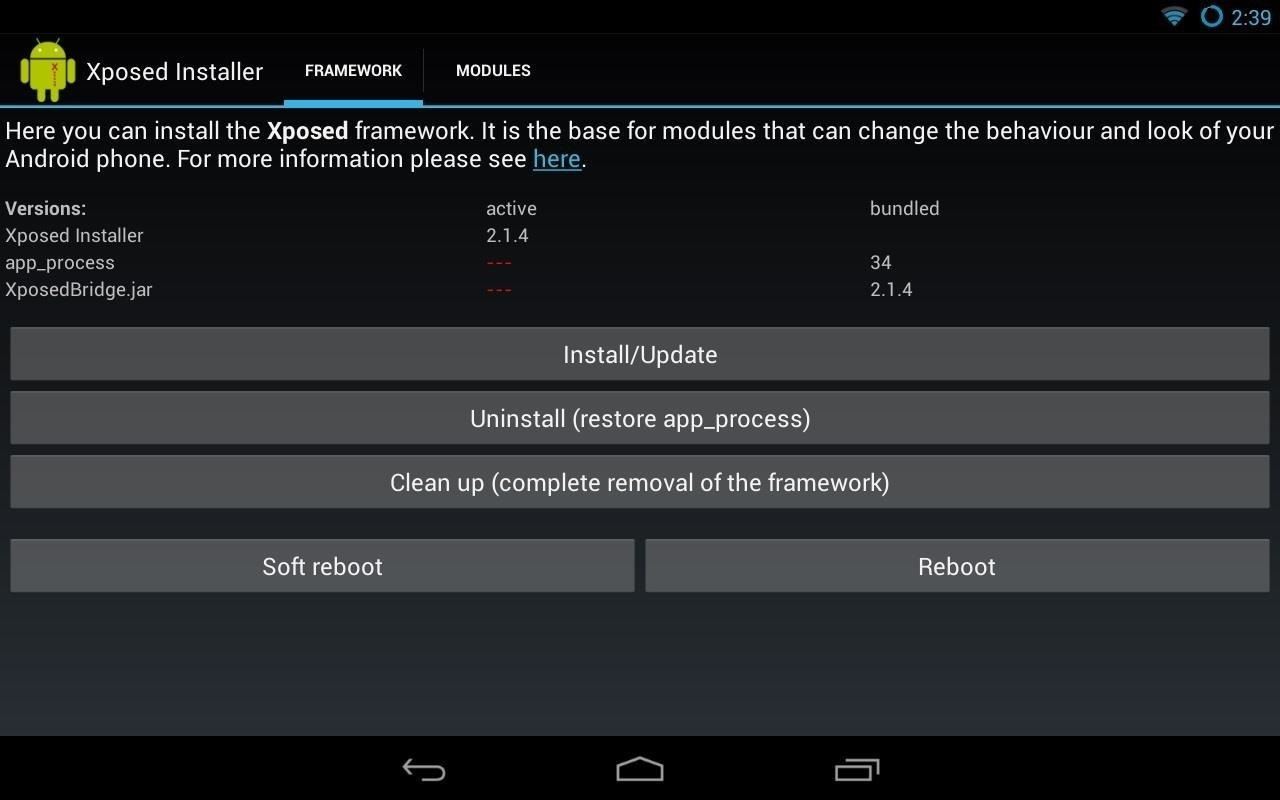
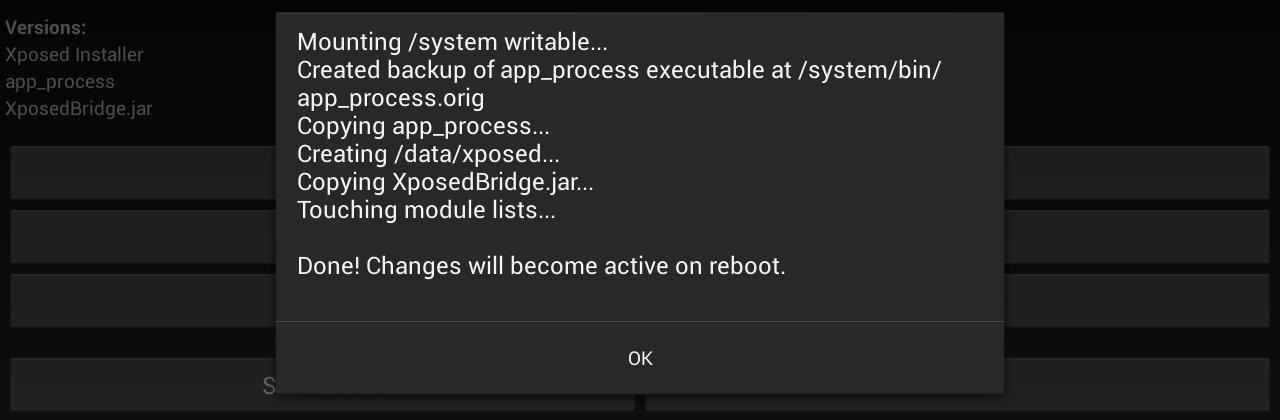
Follow up with a reboot.
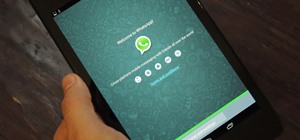
Step 5: Install PeerBlock
We'll be using an app called PeerBlock for Android by DragonHunter. This app is downloadable from Google Play, but is an Xposed module and only works with Xposed.

To put it simply, PeerBlock is a firewall for the paranoid. It blocks any and all IP addresses that can be considered big brother, a major corporation, or a threat to personal security.
The Backstory of PeerBlock
Originally, PeerBlock was written for Windows computers as a tool for P2P file sharers to avoid being monitored by big corporations that may have them under their radar. A much earlier program called PeerGuardian was released back in 2003, but after official development stalled, PeerBlock was made from its open-sourced code. Remember when people were being sued in court for file-sharing? PeerBlock and the earlier PeerGuardian were made to lower the chances of that happening.
Remember: Sharing copyrighted content is illegal. I don't condone piracy.
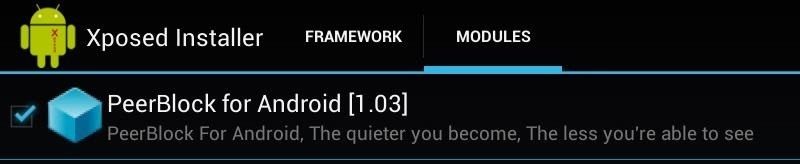
Step 6: Enable PeerBlock in Xposed
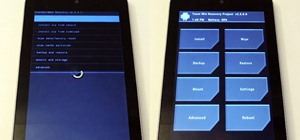
After PeerBlock is installed, we'll need to enable the PeerBlock module in Xposed. Launch back into Xposed and navigate to the Modules tab. Check the box for PeerBlock for Android to enable it.
By default, PeerBlock will not block any IP addresses, or anything for that matter—it needs to have a data file or a block list in order to function. The original Windows version of PeerBlock automatically downloads block lists, but we'll be manually downloading lists to PeerBlock.
Important Note: Launch PeerBlock
Before continuing any further, make sure to launch PeerBlock at least once so it makes the needed folders on your SD card.

Step 7: Finding Block Lists on Your Computer
On a computer, head over to I-BlockList and scroll down through the various paid and free block lists. Read the description for them to know what each block list blocks. As an example, I'll download the ads block list. Just copy and paste the URL into your browser and the block list will be prompted for download.

If you reach a page full of IP addresses, your browser has opened up the block list instead of downloading it.

To fix this, just simply click File -> Save Page As... to save that page; make sure the file saves a .TXT plain text file.
Step 8: Transfer Your Block Lists to Your Nexus 7
Next, plug in your Nexus 7 to your computer and transfer the lists to the PeerBlockLists folder on the root of your SD card.
Once done, you can now unplug your tablet from your computer.
Step 9: Load Your Block Lists in PeerBlock
Once again, launch PeerBlock on your tablet. Look for the BLOCK LISTS tab (you'll see your transferred block lists) and tap the button for Rebuild cache blocklist. We're telling PeerBlock to load the blocklists so it knows what to block.

Reboot your tablet afterwards and you'll then be blocking ads, spyware, the government, or anything else that you've chosen to block!
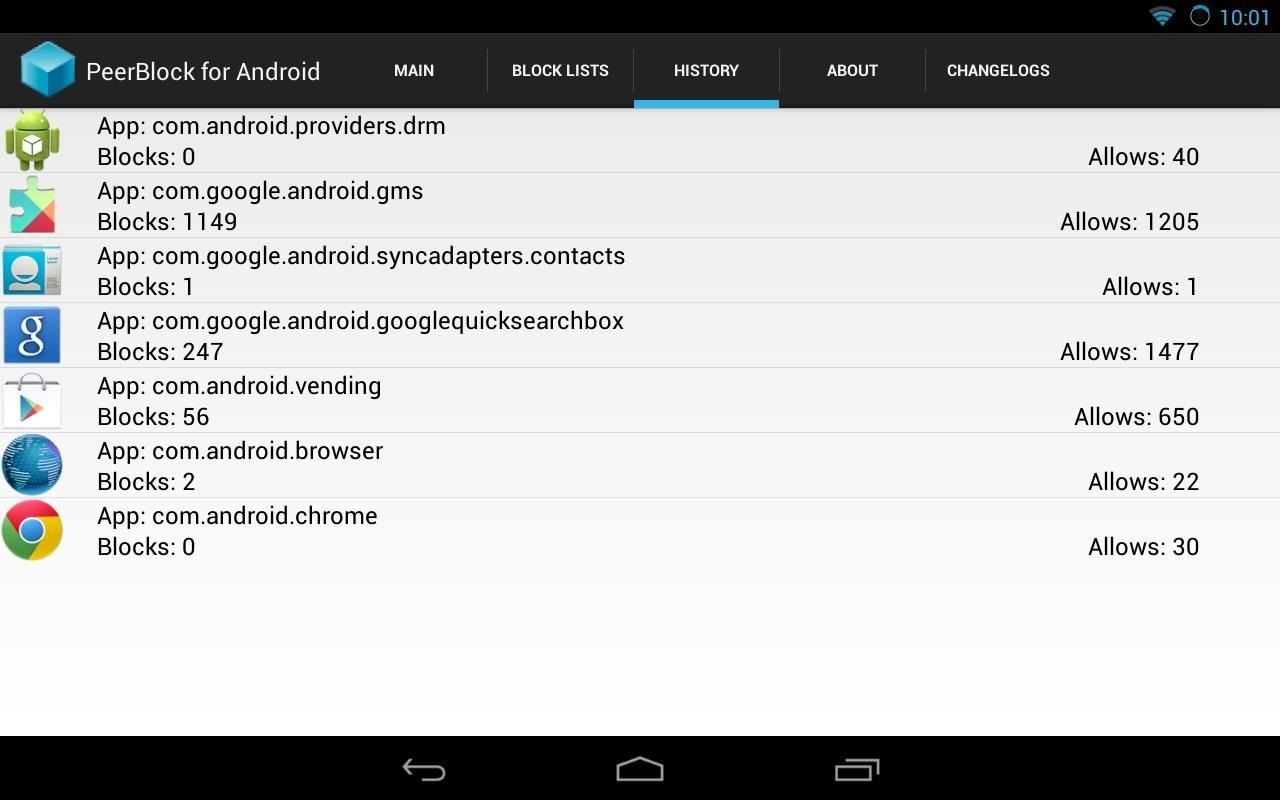
Step 10: Using PeerBlock
PeerBlock will run in the background as a system process. You can launch it to see which apps have made connection to the internet and if any connections have been blocked.

And that's all there is to it! Tell us in the comments section below if it worked for you.
Just updated your iPhone? You'll find new emoji, enhanced security, podcast transcripts, Apple Cash virtual numbers, and other useful features. There are even new additions hidden within Safari. Find out what's new and changed on your iPhone with the iOS 17.4 update.


Be the First to Comment
Share Your Thoughts